Are you having a hard time figuring out how to install Windows 10 on an SSD? You are not alone, this guide will give you a step by step process through every detail and option available!
Installing Windows 10 on SSD drives can be very beneficial to your computer for a variety of different reasons. It will speed up the start-up/shut-down time of your PC as well as keep your windows running smoothly allowing you to switch between apps and browsers seamlessly.
However, figuring out the correct way to install windows 10 on an SSD can be quite a headache. Many of the other tutorials online require you to download the ‘EaseUS’ app which will require you to pay for its services. No Bueno, at least for me…
So in this article, I will go through a couple of the different avenues you can take to install Windows 10 on an SSD, completely free of charge!
Step #0.5 – Back-Ups
When switching windows between hard drives I find it easiest to wipe the PC first, although you might have important files and such on your old hard drive. If that’s the case, the first step you take should be to back up any important files or your whole hard drive. For an in-depth step by step guide to backing up your hard drive’s data, please refer to: How to Back Up and Transfer HDD Data with Clonezilla
Now with that out of the way, Let’s get into installing Windows 10 on your brand new SSD drive!
Method #1 – File and Data Clone
The first method I’m going to share with you involves the direct cloning of your original hard drive over to your new SSD using the absolutely free MiniTool cloning software. This method has the advantage of you keeping all of your data although sometimes a file transfer can prove to be unsuccessful and that’s why backing up your files is so important. You will also have to make sure that the SSD you are migrating your data to has as much if not more space than your previous hard drive. So plugin and format your new SSD and let’s do it!
Step #1 – Download and Set Up the Minitool Partition Wizard Software
Minitool has a free program that makes this process relatively easy and pain-free! You can find that here:
https://www.minitool.com/free-tools/minitool-drivecopy.html
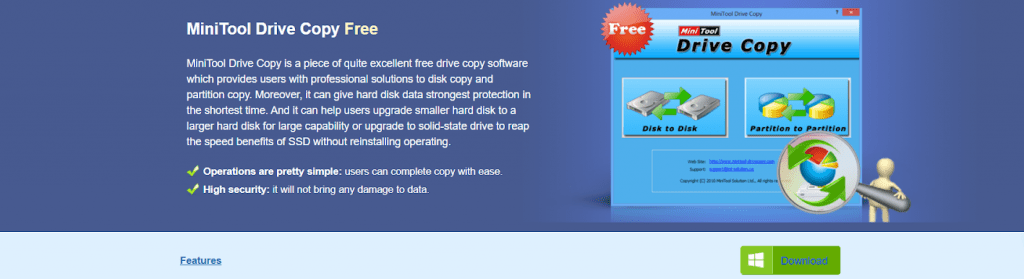
Once you have downloaded the installation wizard just follow the in-program steps to set it up!
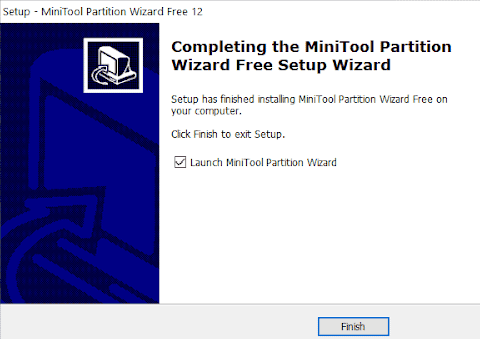
Now that you have the program installed, hit the finish button and when you open it up you will see a screen displaying your attached hard drives.
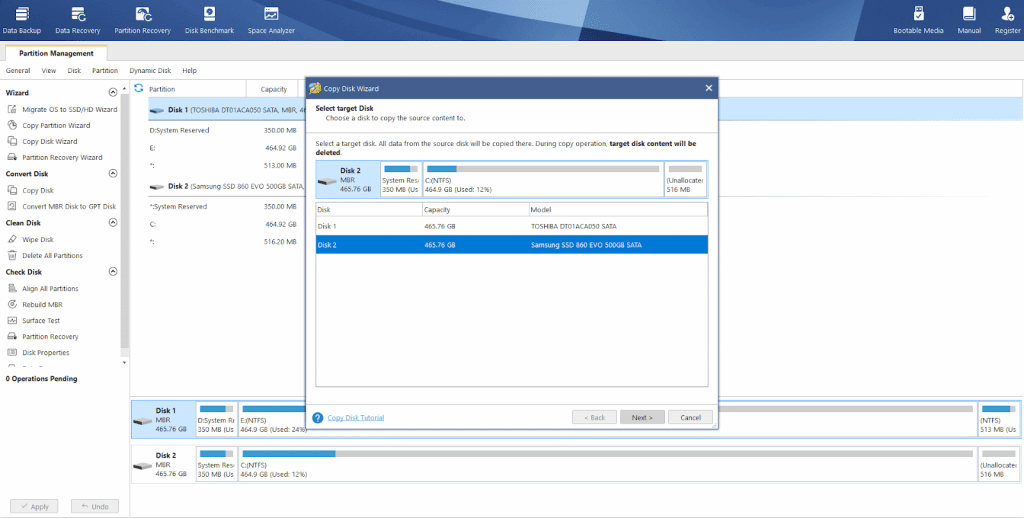
Step #2 – Select Your Source Drive (The Drive You Wish To Clone) and Click on the “Copy Disk” Option Located on the Left Side of the Screen

After clicking on the “Copy Disk” option you will get this screen asking for your target disk. (The SSD drive you want to install windows and clone onto.) Select your SSD and hit next.
Step #3 – Follow the Prompts and Proceed to Clone Your Drive
Go through the following prompts and wait for the process to complete. It can take anywhere from 30 minutes to 2 hours or longer depending on the amount of data you are cloning. See that wasn’t so hard, was it?
Best of all, this method of installing windows on an SSD is completely free and you can keep all of your data!!!
Method #2 – Wiping and Booting Your PC with a USB Drive
The second method to install windows on an SSD will require a USB drive with at least 8 GBs of storage. You might have one lying around but if not you will have to pick one up which should really only run you out of 5 dollars. (Sorry I know I promised free of charge, maybe try calling grandma?)
If you don’t mind wiping clean your PC, which will get you the most speed out of your new SSD, then this method is for you!
Step #1 – Formatting Your USB Drive
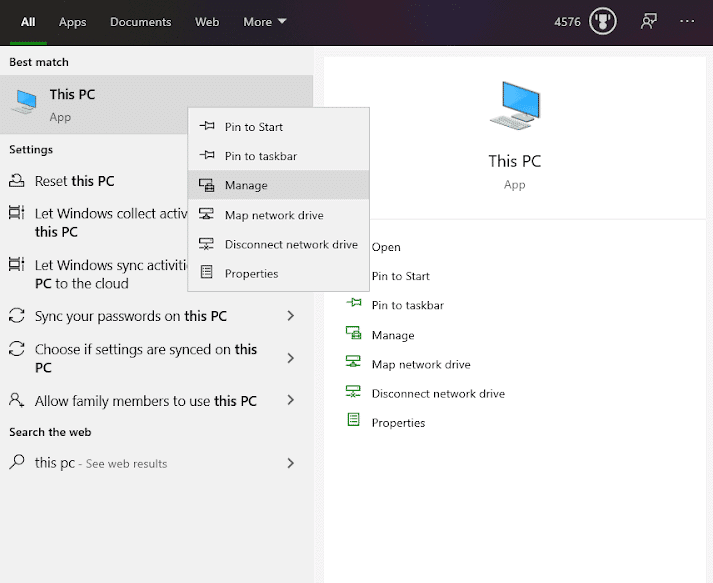
Before you can install windows onto your USB drive to boot from, you will need to format the disk. To do this, plug in your USB drive and search “This PC” in your windows search bar.
Right-click on the “This PC” option and select “Manage.”
This will open up the “Computer Management” program and from there you will select the “Disk Management” option on the left-hand side of the screen under “Storage.”
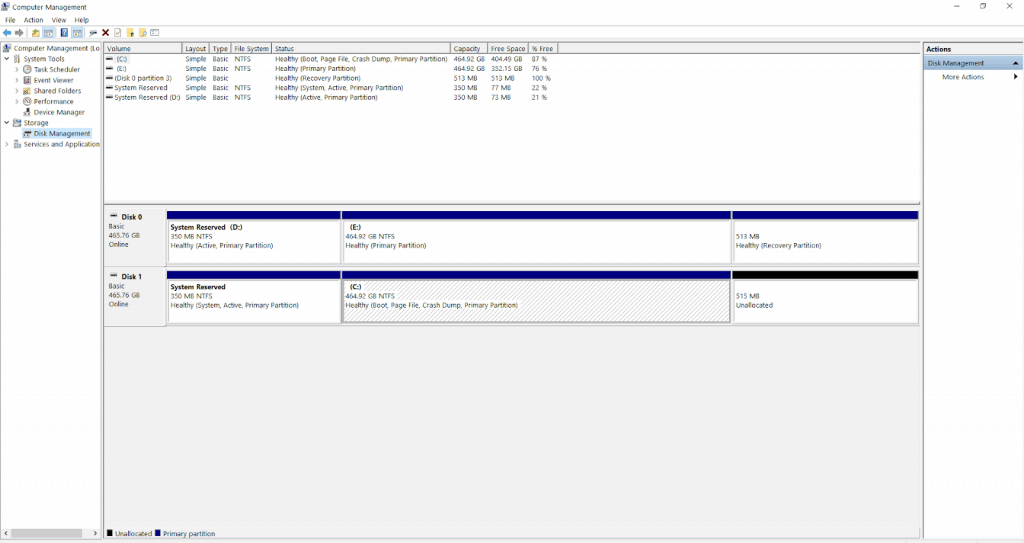
You will see your active drives and discs, select the USB drive and right-click on it and select “Format.”
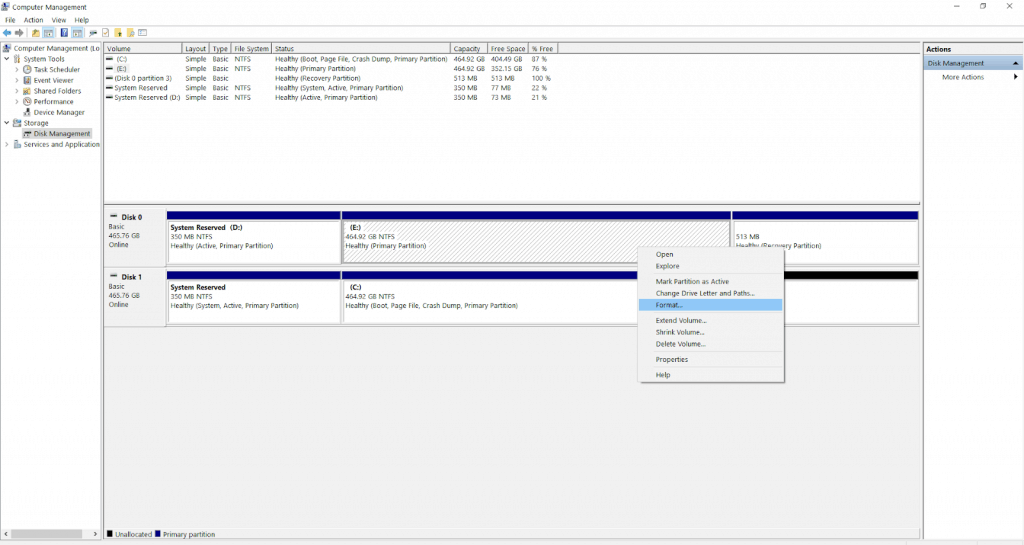
A window will come up asking if you are sure you want to format the disk as it will wipe all the data off of the USB. So be sure you haven’t left any files you will need on the USB drive!
After selecting “Yes” another window will appear where it will ask for a Label as well as the “File System” you want on the device. From here you can label it whatever you wish but you will want to make sure the “File System” option box says “NTFS.” Leave the “Allocation Unit Size” box set to “Default.” Then enable the “Perform a quick format” box and select “OK.”
After selecting okay it should only take a few minutes (if that.) Now you are ready to install windows on the drive!
Step #2 – Download and Install the “Windows Creation Tool” From The Microsoft Website.
Now you will want to download the “Windows Creation Tool” from the Microsoft website which you can find here:
https://www.microsoft.com/en-us/software-download/windows10
With this program, you can install windows directly onto your newly formatted USB drive!
Before you install windows it will ask you if you are installing onto a 32 or 64-bit operating system. You can easily check this by heading to your “Control Panel” and selecting “System” where it will display the type of configuration your PC works with.
Using this program should be pretty self-explanatory even for your Great Aunt Susan, just follow the prompts of “Download Tool Now” and select “Run.” Once it asks which drive you wish to install windows on, select the USB then sit back, relax, and wait for it to finish downloading!
For an in-depth guide on how this program works just refer here and it will walk you through the download though you will likely not need it:
https://www.microsoft.com/en-us/software-download/windows10
Step #3 – The Wipe
Now that you have windows 10 conveniently installed on your USB drive you may remove it from your PC, now you can wipe your previous hard drive so that you can either keep using it with your SSD as additional storage space or throw it out safely all together!
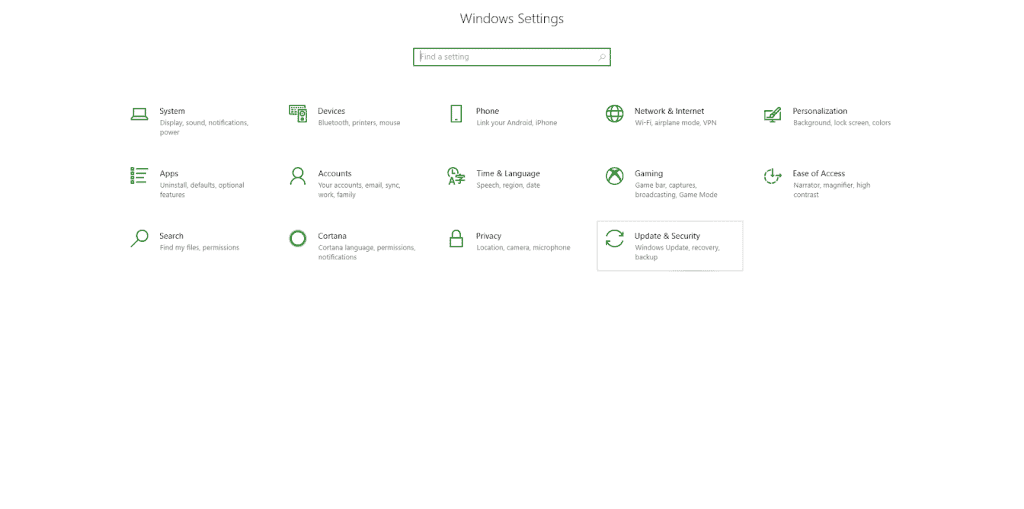
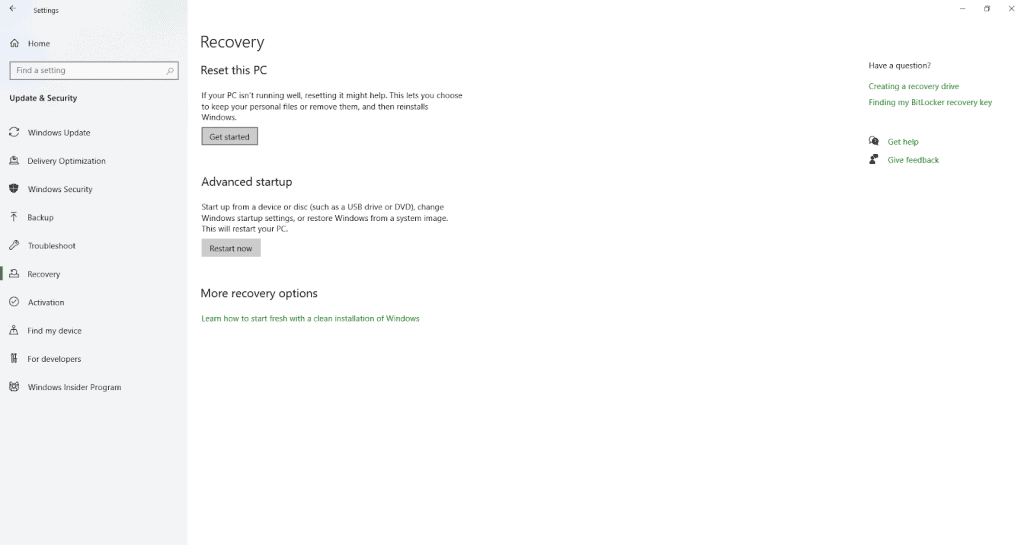
Wiping your PC is a simple and straight forward process, just head over to your “Start Menu” and select the “Settings” option in the left-hand toolbar which just looks like a gear.
In the settings window, select the “Update & Security” option as seen here.
Select the “Recovery” option and you will see “Reset This PC” with a “Get Started” box underneath it. Select the “Get Started” box and choose the “Remove Everything” option. This will erase all files off of your current hard drive so be sure you are ready to completely reset.
Now just follow the prompts and wait for your PC to completely reset!
Step #4 – The Boot
Now that your PC is completely clean you can plug in your USB drive with windows installed. Now you will want to open up the bios, which can be different for each PC company. Just search up your computer company’s name and how to open the bios from startup.
For a quick guide to most computer manufacturers access keys refer to this article:
https://www.tomshardware.com/reviews/bios-keys-to-access-your-firmware,5732.html
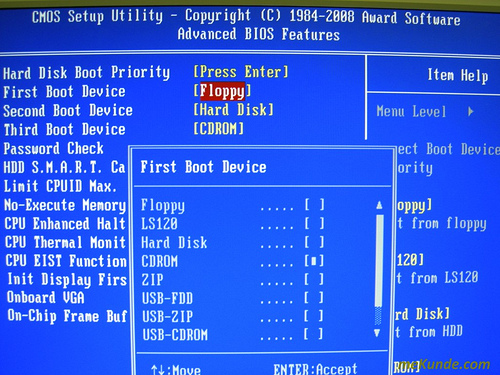
I run off of a “Cyber Power” PC so for me, as it turns on I just have to hit the “Delete” button a few times and it will come right up. You will know you’ve done it right when a screen that looks like a 1980’s computer straight out of Steve Job’s sweaty garage appears on the screen.
While the screen that appears will vary with each individual computer you should be able to find a “BOOT” option where you can select the USB drive to boot from. If it will not let you select an individual drive, you can select the “BOOT” option and make sure that the USB drive is at the top of the “BOOT” list.
“Apply” or “Save” your BIOS settings and restart your computer and you will startup into the a windows screen like it’s a brand new PC!
Step #5 – Install Windows 10 On An SSD Drive
Well done, you are almost finished installing windows onto your SSD drive!
Now make sure your SSD drive is plugged in.
You will see a screen asking your language preferences select whichever one you would prefer and continue. Then a button will come up saying “Install Now.” After selecting this option it will ask for a product key, depending on if you have one you can put it in but if not do not worry there is an option saying “I don’t have a product key” that you can select.
If Windows has been previously installed on the device you will not have to worry about putting in a product key.
It will then show a list of the different Windows installation options such as “Windows 10 Home” or “Windows 10 Pro.” Just select the configuration that your PC was initially activated with.
Now it will give you the option to select a “Custom Install.” Because of the fact you are installing onto a new hard drive, you will want to go with the “Custom Install” option. Then you can select the drive you wish to install the new Windows Configuration onto, where you will select your SSD drive partition. If you have not formatted your SSD at this point it will automatically format it for you!
There, you’re all done! Now just wait for your PC to install windows which could take about an hour sometimes less, and you should be good to go. When it is finished your PC will restart and you can log into your Microsoft account and start setting up your (basically) brand new PC!
The process of switching windows between hard drives and installing Windows 10 on SSD drives can be hard but I hope this simple and straight forward guide was able to eliminate at least half of the headache! Thanks for reading and be sure to check out some of the other helpful and interesting articles available on https://gadgetgang.com/!
FAQ
Why should I install Windows 10 on an SSD?
Installing Windows on your SSD drive can have a variety of benefits such as fast start times, fast load times, and an all-around smoother Windows experience. SSDs have significantly faster transfer rates when compared to the older HDD systems.
Are SSD drives worth buying?
In short, yes. SSD drives are slowly becoming more and more affordable allowing anyone to buy a new SSD without breaking the bank! They are much faster than HDD systems and will make load times on applications, games, and even downloads much (MUCH) faster.
How do I get Windows to recognize my new SSD?
To get windows to recognize your new SSD you will need to allocate the drive and create a partition inside of the SSD through the “Disk Management” option in the “Control Panel.” This is just a fancy way of saying that the disk is allowing it’s storage space to be used with applications or downloads of any kind!
How do I move Windows 10 onto an SSD without Reinstalling?
To accomplish this task you will need to clone your original drive over to your new SSD. There are a few different programs that allow you to do this but many of them cost money. The easiest and most reliable FREE program would be the “MiniTool Partition Wizard Program” which will allow you to make a direct clone of one drive to another. For an in-depth step by step guide to completing this, refer to this article.
Should I Install Windows 10 on an SSD with a USB Drive?
If you are looking to start fresh on a new SSD then this will likely be your best option. It will allow you to install windows onto an SSD and leave behind any old and unwanted files that do nothing but slow down your PC. This option will get you the most speed out of your SSD!
Will the methods of installing Windows 10 on SSD drives in this article work with any version of Windows?
Absolutely, you can use either method to install any version of Windows you wish!