There are many ways you can take screenshots in Windows 10, this guide will show you all the tips and tricks you need to know when taking screenshots. Even if you know what your doing, read this article, I can assure that you will find something you didn’t know! This guide will also work with older windows versions such as Windows 7 and 8.1
NOTE: If you are using a device such as a laptop it may have a fn key, this sometimes means your PrtScr button does other things. If you find that pressing the PrtScr button alone is not working try pressing your fn + PrtScr at the same time. If this is the case then the shortcuts in the guide will only work if you press the fn key too.
1: The BEST – Lightshot
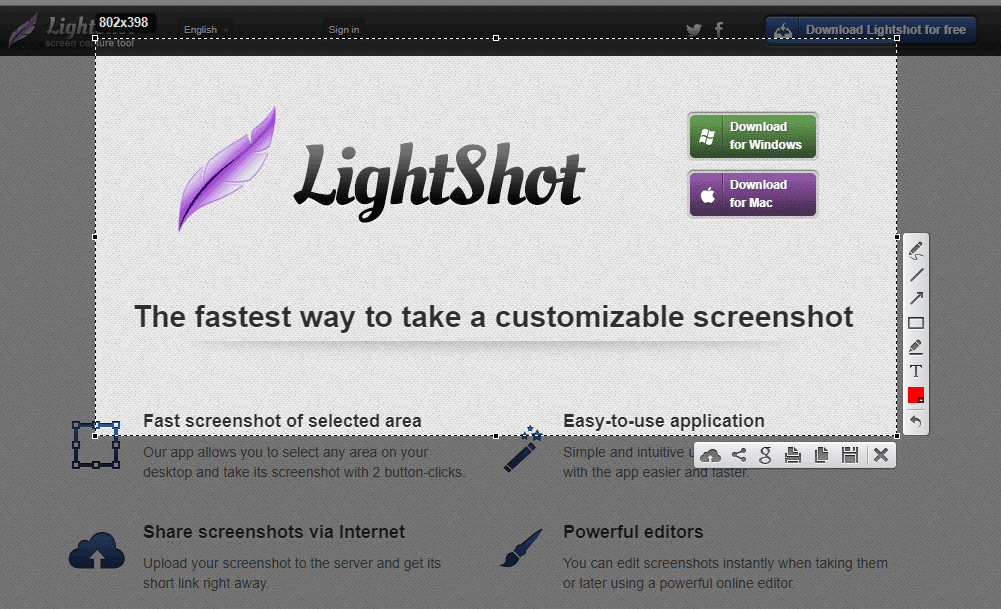
Lightshot is a 3rd party application which allows you to make a screenshot of any selected area on your desktop. Liteshot has made our number one spot due to it being feature packed yet so simple to use. After you have installed the application press the print screen button, you can then click and drag the cursor to create a box around the area you want to screenshot. After releasing the mouse you will have a few options to edit your picture before you save/upload it.
Liteshot is so awesome because you can upload your screenshot directly after taking it!
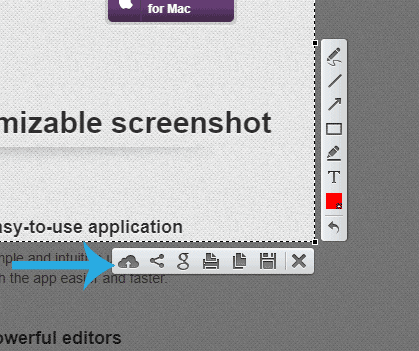
Simply press the little upload button and Liteshot will upload your screenshot to their website. You can then copy the URL and share it with anyone, this is such a fast and easy way of capturing screenshots to share with people.

2. The good old fashioned way
If you don’t need to take screenshots regularly this probably the best way to go about doing it. This method doesn’t require any 3rd party programs and will work on any computer running windows.
Simply press the “PrtScn” button on your keyboard, windows will then take a picture of your whole screen and save it to your clipboard. To view or save the image you must paste it into a picture editing program such as paint. Search for paint on your computer and open it, all windows computers should come with paint installed.
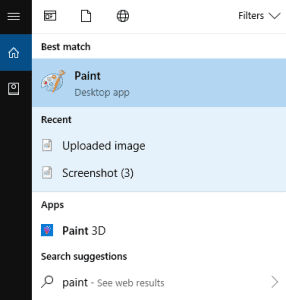
Once you have opened paint on your computer you need to paste the image you just took, on your keyboard simply press CRTL+V at the same time to paste your image. Alterniavely you can just press the paste button at the top of the paint window.
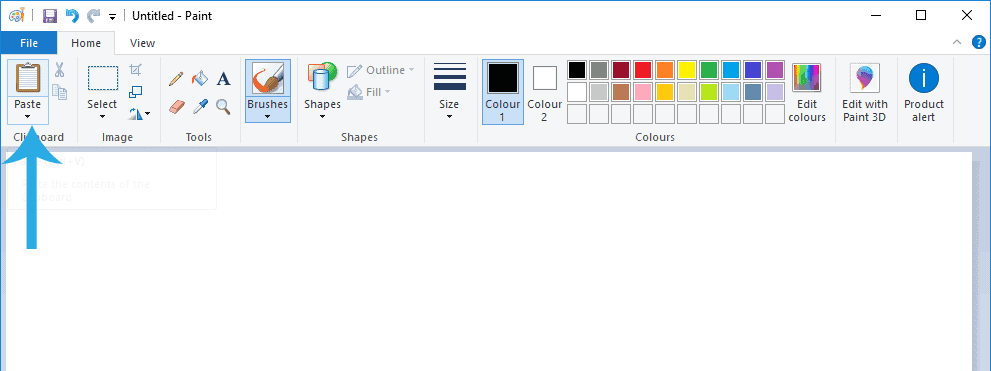
After you have pasted the image you can save it by clicking file then save, if you then need to send the image to someone you can upload it to a image sharing website such as Imgur.
3. Windows + PrtScr – Instantly Save ScreenShots
If you are after a quick simple way to take a screenshot and save it to your hard drive, this is the method for you. Simply press the windows key and the PrtScr button at the same time, your photo will then be saved to your photos folder on your computer.
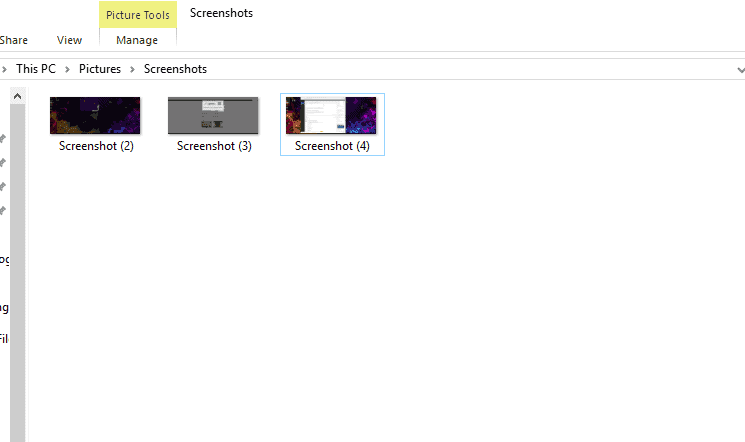
You can find this location by going to your folders -> Pictures -> Screenshots, this method will also place the picture in your clipboard meaning you can also paste it into paint, edit it then upload.
4. Alt + PrtScr – Screenshot Current Window
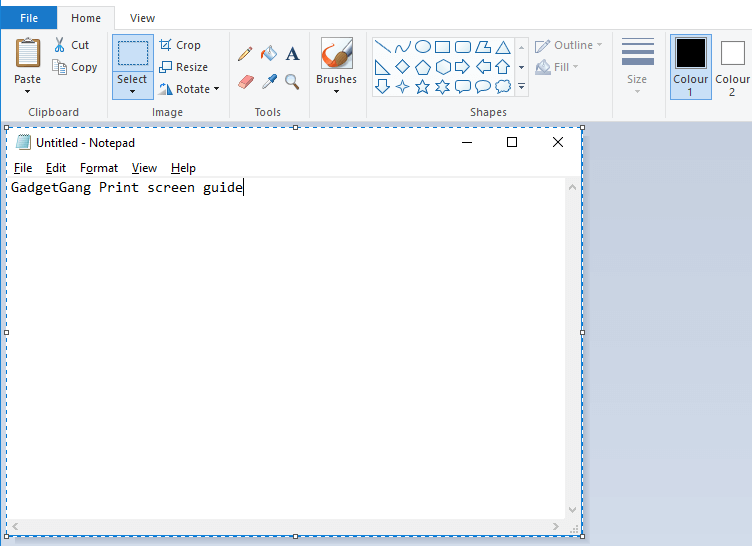
By pressing Alt + PrtScr this will take a screenshot of the current window you have open, this is a quick and easy way to take screenshots without having to crop out the stuff in the background.
For example if I wanted to take a quick printscreen of this notepad file without including the background programs. I would press Alt + PrtScn
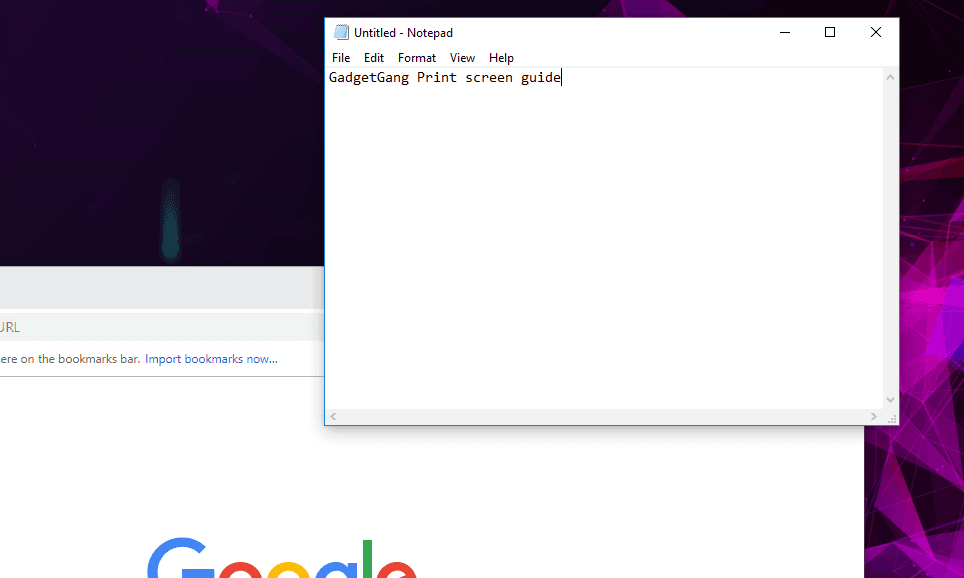
Then when you paste the item into a picture editing software such as paint, you will only see the following.
5. Windows + Shift + S – Screen Snip
Pressing these 3 buttons together will allow you to select a area of your screen by clicking and dragging the mouse. This is quite similar to the liteshot program, however, you cannot edit or upload the file after.
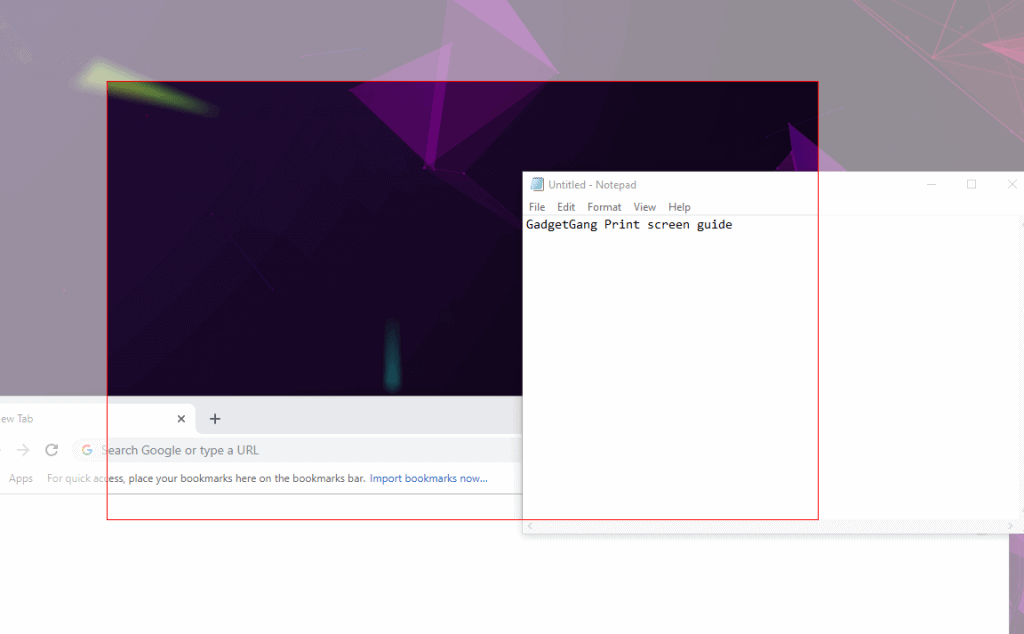
After you have selected the area you want to screenshot, release the mouse and your file will be copied to your clipboard. Open up a picture editor file such as paint and press ctrl + V to paste your image.
Whats your favourite way?
GadgetGang personally use Lightshot and think it’s the best way you can take a printscreen in windows. There are many similar programs such as GYZO or ShareX. However it’s all down to personal preference.
Unless you have complex needs or use print screens on a regular basis, you could probably just use the built in features without the need to install any 3rd party apps. Let us know your favourite way to take screenshots in the comments below.

