
With the powerful features packed on Windows 10, it is easy to think that it is the only operating system you need to accomplish all your tasks. But there comes a time when you need a Linux system on your machine. I will agree that you will be using it less often than Windows, but it is still inevitable.
But that is not all, you will be surprised to learn that Ubuntu is better than Windows in various ways. However, you still need your Windows 10 OS for various tasks that Ubuntu is yet to achieve natively. Some apps are not available for Ubuntu, and you will have to continue using Windows for those tasks.
In this guide, I will show you how to install Ubuntu on Windows 10 with dual booting. The process is safe and easy, and you do not need to be a tech nerd to accomplish the process. After installing Ubuntu, you will discover that your laptop is more powerful and versatile.
What You Need to Install Ubuntu from Windows
Before you start the installation process, there are essential tools you will need. I will give you information on why you need each and where to get them from.
1. A Windows 10 PC
Definitely, this is the laptop you are holding in your hand right now. Or it could be the one you left at home or in school and you intend to install Ubuntu on it. You can also have a Macintosh on which you have installed Windows.
The PC should have enough disk space (Minimum of 30GiB) to run Ubuntu and sufficient RAM. Almost all Windows 10 laptops come with 4GB RAM, which is sufficient for Ubuntu. If yours has 2GB RAM, you will need to upgrade to for the best experience. It will still work on the 2GB but you may experience some lagging.
2. A Flash Disk (Pen Drive)
If you have a blank DVD, it is okay to use. But sometimes reading data off DVDs may corrupt the installation and the bootup process may fail. I have experienced this some time. A USB flash disk is a wonderful option.
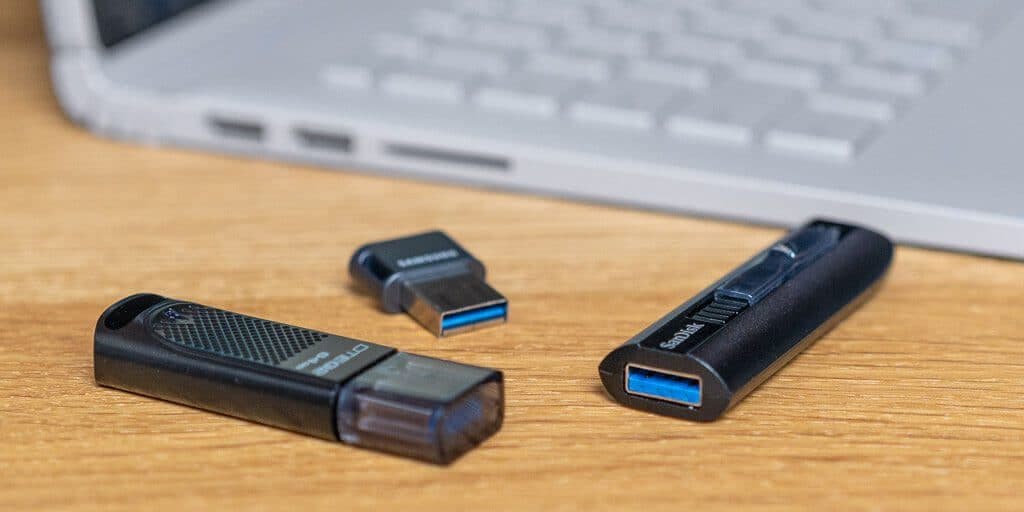
Another advantage of using a pen drive is that you can wipe and reuse it after you are through with the installation. You need to ensure that your disk is 4GB or larger to carry the unpacked (or rather “installed”) bootable iso.
3. Ubuntu ISO Image
To dual boot ubuntu windows 10, you first need to grab the bootable image from the Ubuntu downloads center. There are many options on the website, but make sure to download the “desktop” version from the link. Remember that Ubuntu does not support 32-bit architecture (by the way, who does?).
On the download page, you will come across Ubuntu 18.04 LTS and Ubuntu 19.04 (as of the date of publishing this article. The versions change regularly as a new version is released every 6 months).
If you want to test the latest features and update your system often, go for 19.04. But you may want to choose the 18.04 LTS (Long Term Support) that gives you security updates for the next 5 years. The two may have different appearances on the interface, but there is no big difference in performance and usability.
4. USB “Burning” Tool
Finally, you will need a way to put your bootable iso image on a USB stick so that you can directly boot and install dual boot ubuntu windows 10. The native Windows ISO manager does not burn images to USB. I prefer using Rufus, but other useful software out there will help you with the process.
There are two versions of Rufus. The first one is an installer, which you must install to your system and launch as an app (program) any time you want. The second option is a portable version that you double-click and it launches. It does not leave any junk on your PC, but, whenever you need to run it, you have to look for the downloaded executable file.
Step 1: Burn the DVD ISO to Your USB
Now that you have everything ready, it is time to make your Ubuntu iso bootable. Insert your USB thumb drive to your laptop’s USB port. Ensure you back up any data you saved on it because you are about to format it.
Now run the Rufus program that you will use for writing the image onto your drive. It may ask you for the administrator password or confirmation. Grant the permissions and continue.
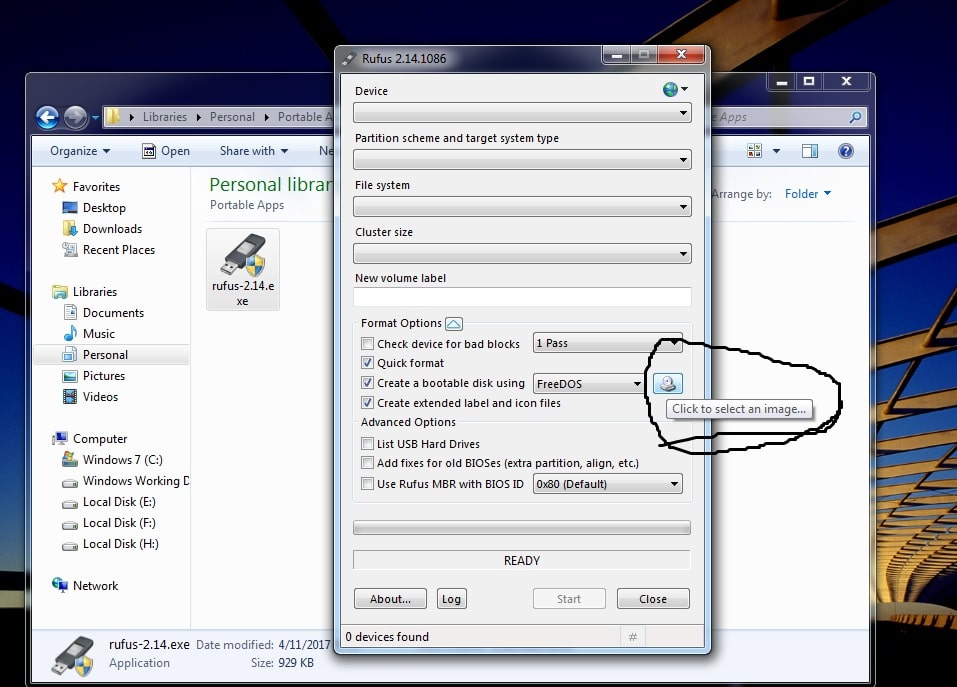
Most of the options on Rufus are straightforward. The “Device” is the drive you want to write the Ubuntu bootable image on. If you have inserted one flash disk, it will be highlighted, but if you have more than one, you need to open the dropdown to choose the correct flash disk you want to use.
Do not worry about the partition scheme, the iso image dictates the options. By default, Ubuntu iso accepts MBR and UEFI. Leave it as the option so that the flash disk can boot off any machine. Cluster size and new volume label are not necessary.
Under “Format Options”, ensure the checkbox for “create a bootable disk using…” is checked. This option is active by default. Do not select an OS on the dropdown, but click on the DVD icon to the far right. Locate your downloaded Ubuntu DVD image and select it. Click the “Start” Button to write the iso to the disk.
Step 2: Boot Off the USB Flash Disk
With your USB disk plugged in, restart your machine, but before it loads the OS, enter the BIOS (or should I say UEFI?) menu. Toggle the security setting to allow booting from an external disk (Secure boot off). Now choose the flash disk as your boot option.
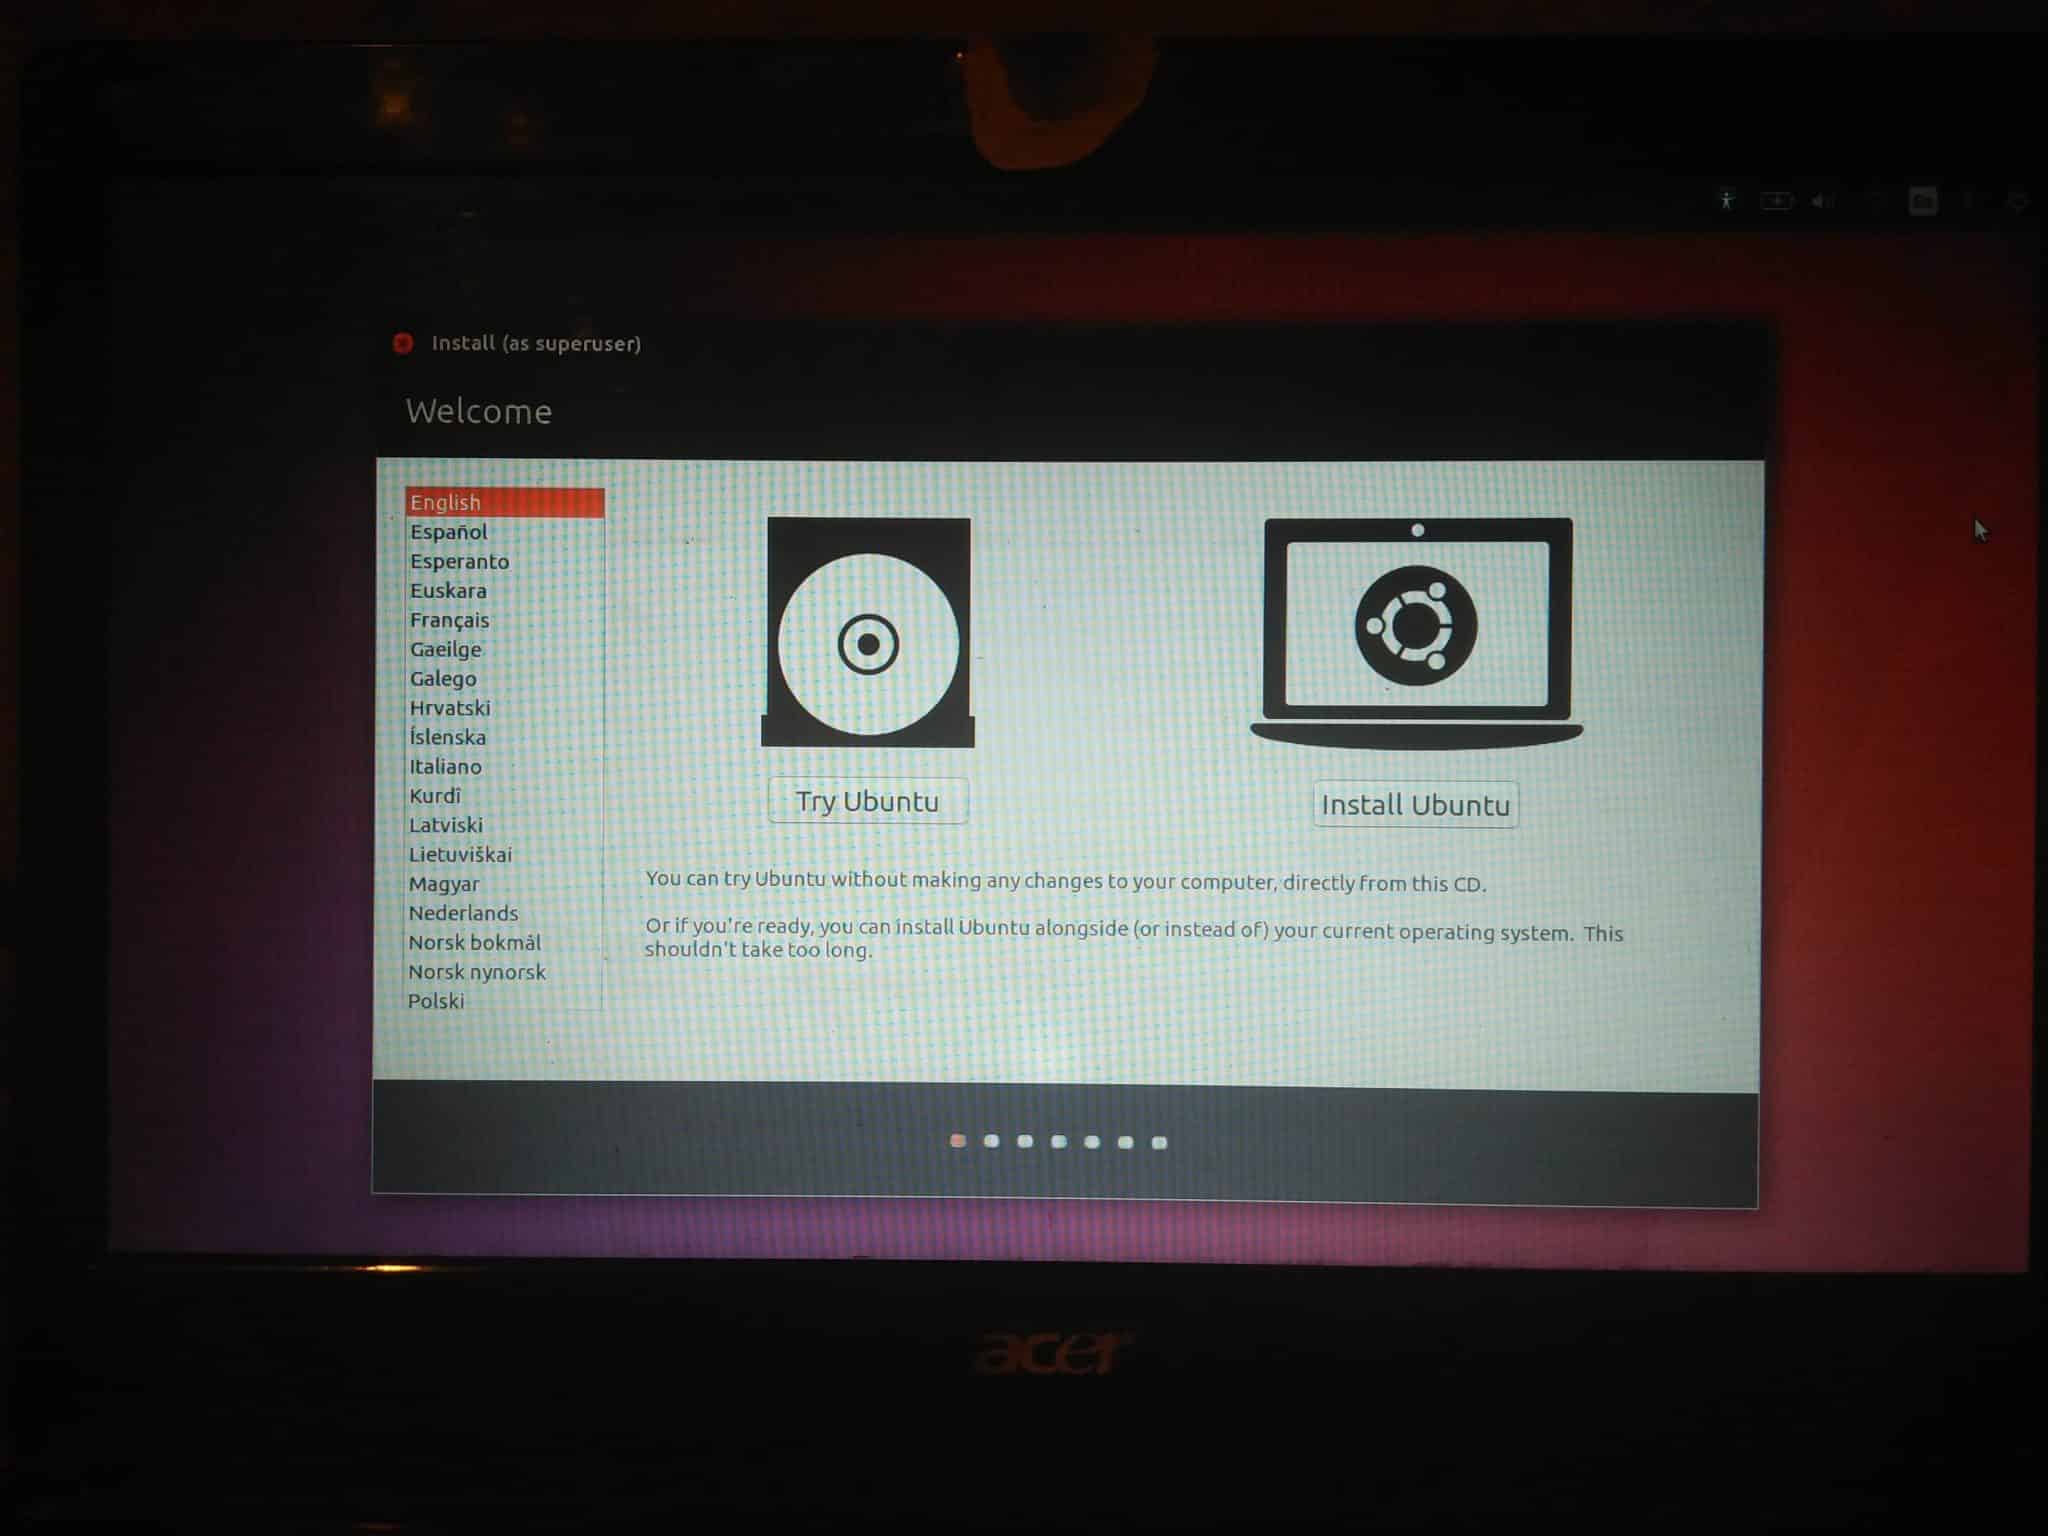
If the system successfully detects the drive, it will boot off it. You will see the Ubuntu splash and in a few seconds, you will get a prompt whether you want to install or try Ubuntu from the flash disk. Please click on the “Try Ubuntu” button. It will load the desktop as a complete system.
Step 3: Create the Necessary Partitions
There are many tools that ship with Ubuntu for managing system disks. However, because of the way Windows users are used to graphical steps, we will go the GUI way. On the desktop, hit the “Windows” logo on your keyboard. It will open the Dash.
Alternatively, you can open the dash by clicking the square on the top of the launcher located on the left side of the desktop. This will open a search window where you will need to find any program or file you want. On the search bar, type “GParted” and click (once) the GParted program icon.
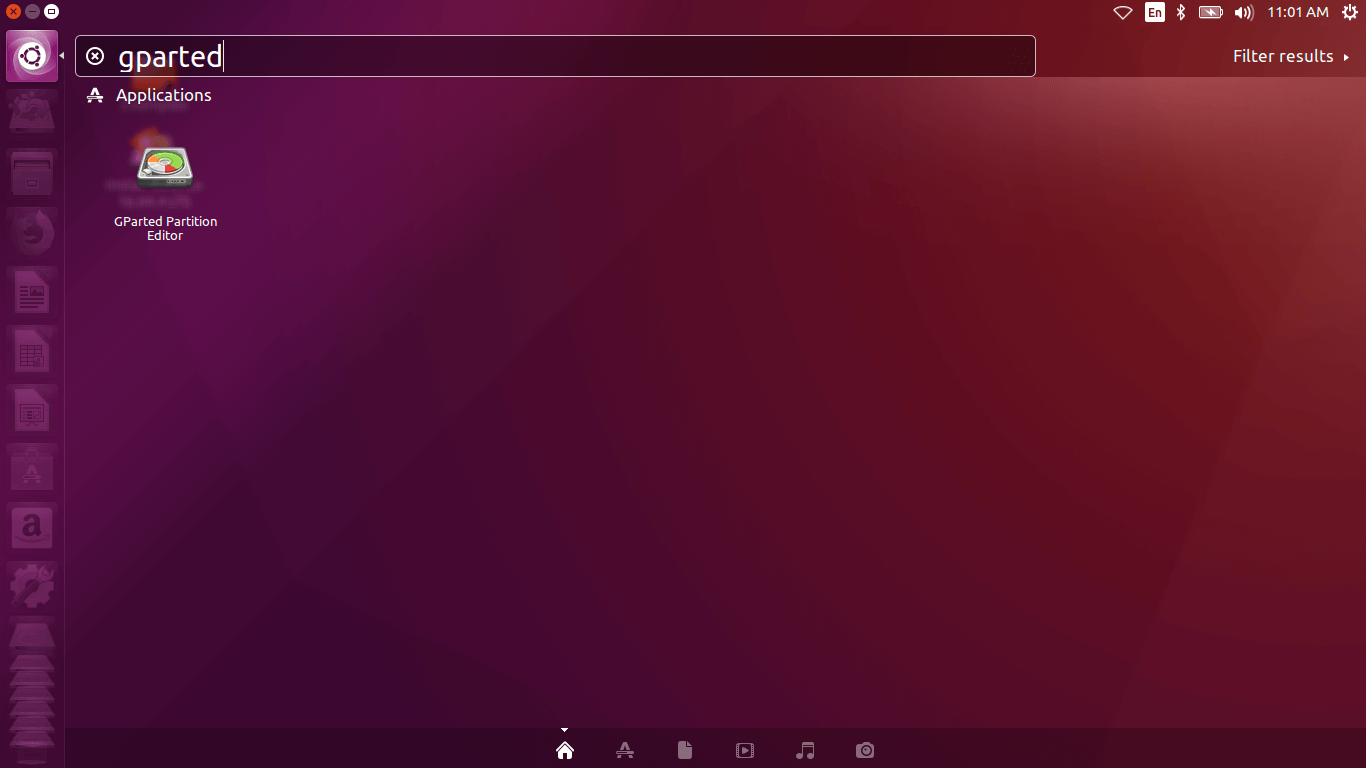
GParted means Graphical Partition Editor. This will help you manipulate the drives (as Windows calls them) on your machine. As you become more used to Linux, you will understand the whole disk is a single drive, but each segment is a partition.
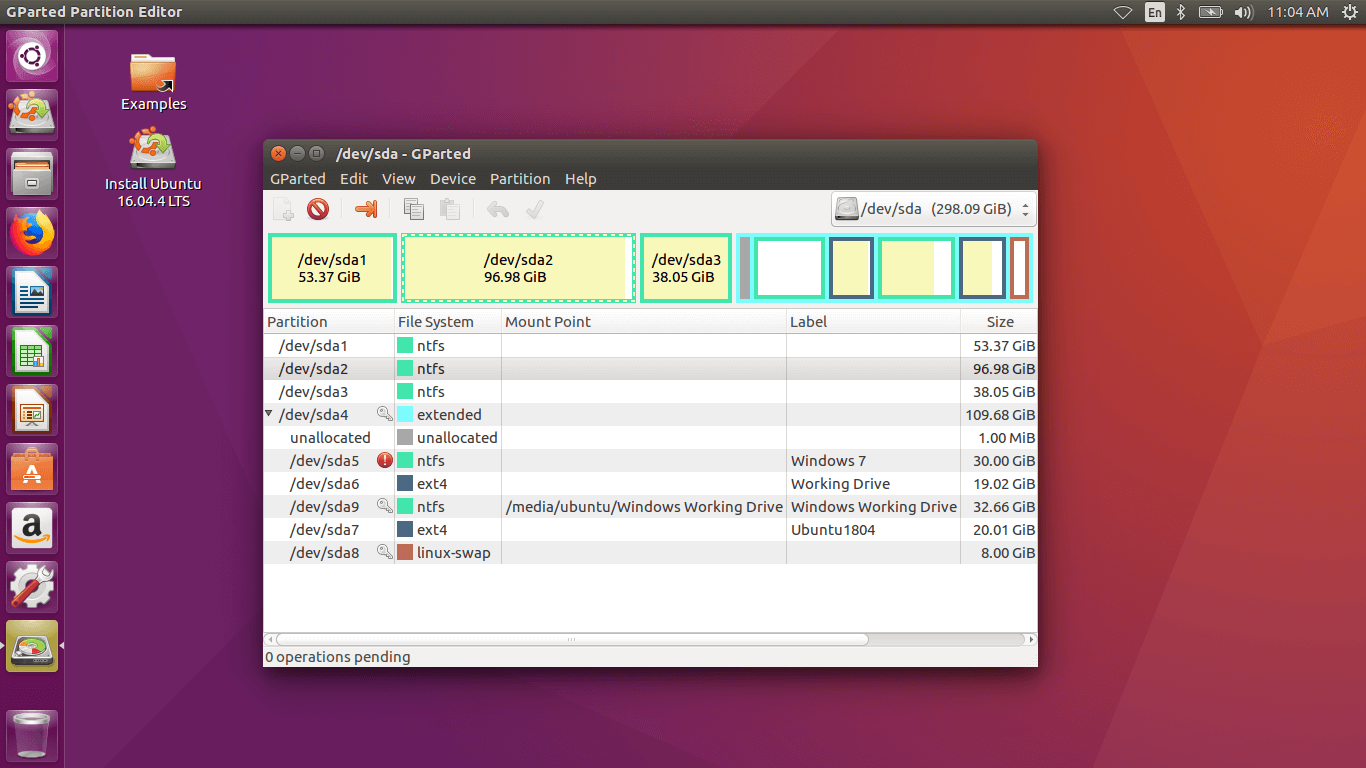
Once Gparted has loaded, ensure that you have selected the right disk. This should be the internal HDD. On Ubuntu, you will see it highlighted as /dev/sda. See if you have any unused space on the drive. If there is no empty space, you can select one partition and shrink. Right clicking on it opens the contextual menu and you will see the move/resize option.
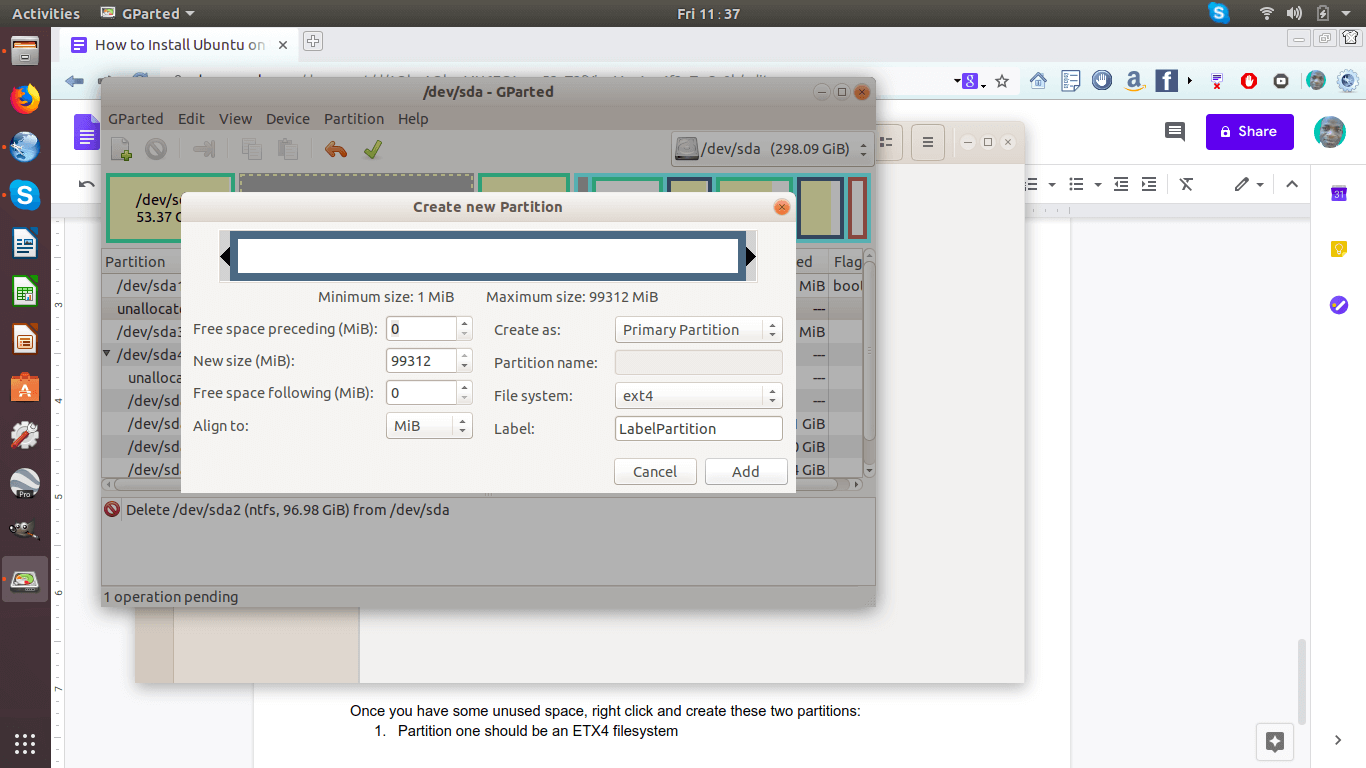
Once you have some unused space, right click and create these two partitions:
- Partition one should be an ETX4 filesystem where you will install the OS and its software.
- Partition 2 will be a Linux-swap partition, and it should be TWICE the size of your computer RAM.
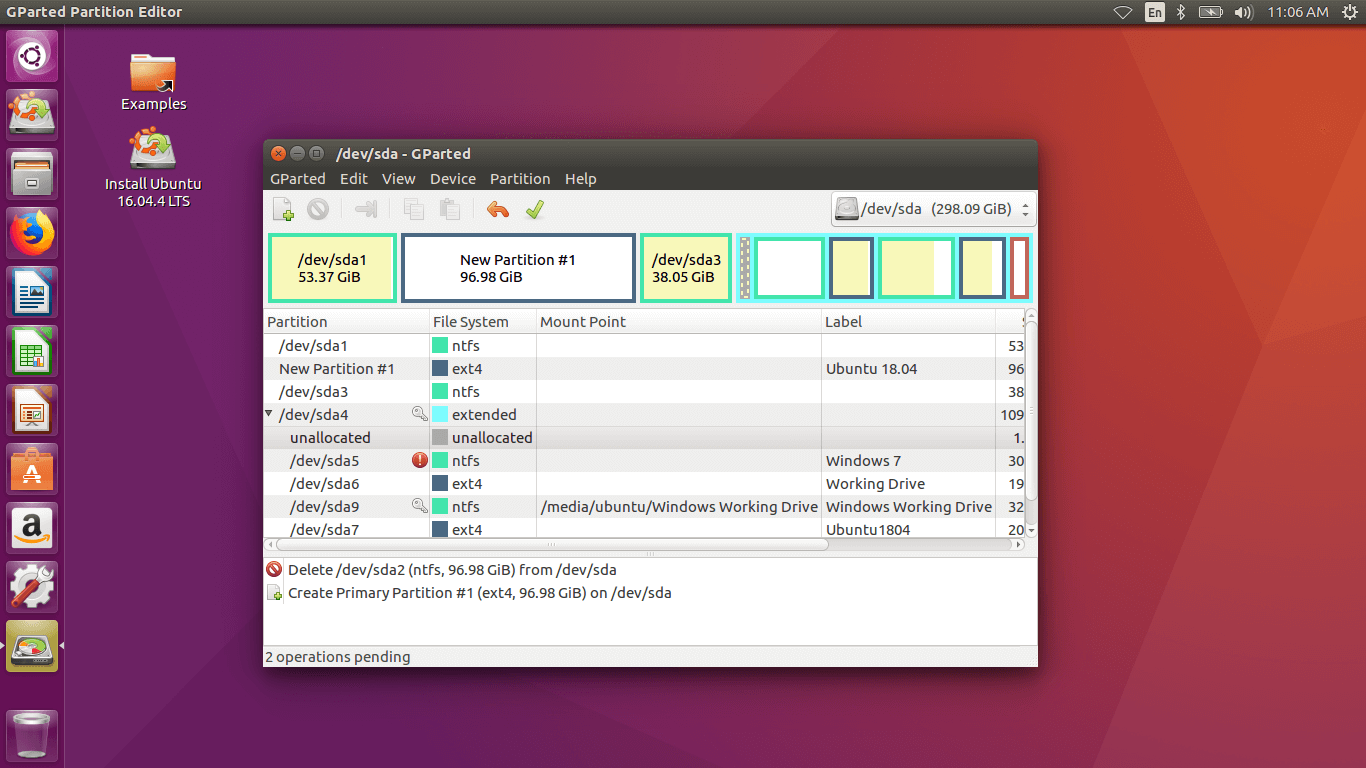
After you are through with creating these partitions, you are now ready to install Ubuntu on your Windows 10 laptop. If you intend to install many apps or programs on your new Ubuntu OS, you may need to allocate the partition a larger space.
Step 4: Install Ubuntu
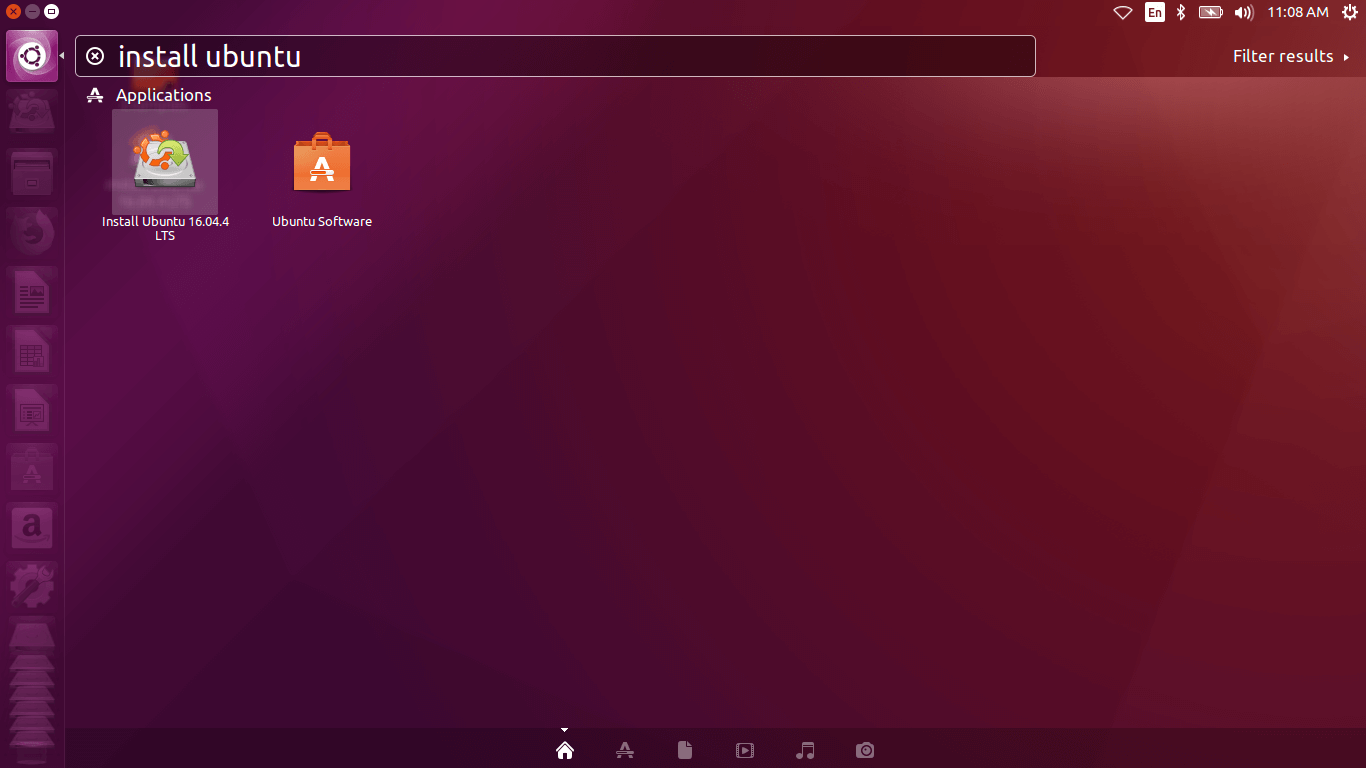
After you have successfully created the necessary partitions, you can now install your OS onto the HDD. First, exit GParted and launch the installer app. From the dash or search, type “Install” and you will see the “Install Ubuntu 18.04.x LTS” (where x is a number). My image shows Ubuntu 16.04.4 because I wrote an older image onto it. But the process is all the same and same results.
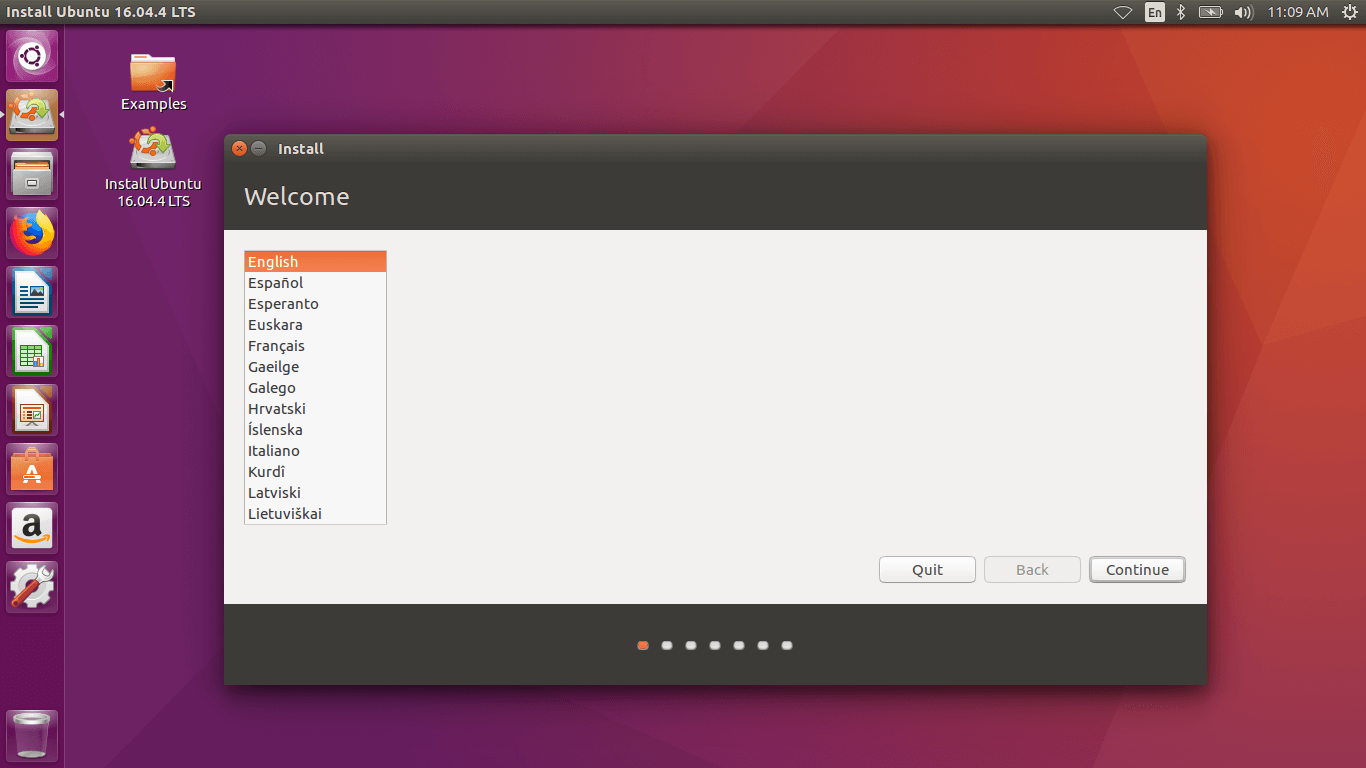
The installer will open a welcome page that asks you to select a language for the installation process. Your system language and formats will be set according to your country or region. That will come at the latest stage of the installation process. Selects the language you want to use and click on the “Continue” button.
The next step will ask if you want to connect to a network (if you have not plugged in your Ethernet cable). You can connect to the available wireless connection only if you want to update the system while installing. But because this consumes more of your time, I recommend you skip it and update once you are through with the steps. Simply click the “Continue” button.
On the next step, you will see the window titled, “Preparing to install Ubuntu” with some options with checkboxes. You will choose if you want to update the system on-the-go and if you wish to install third-party software. I still recommend you ignore both options and Continue.
On clicking “Continue”, you will probably see a popup prompting you to unmount your disks so that you can create partitions for installations. Since we have already created our necessary partitions, simply ignore by clicking “NO”.
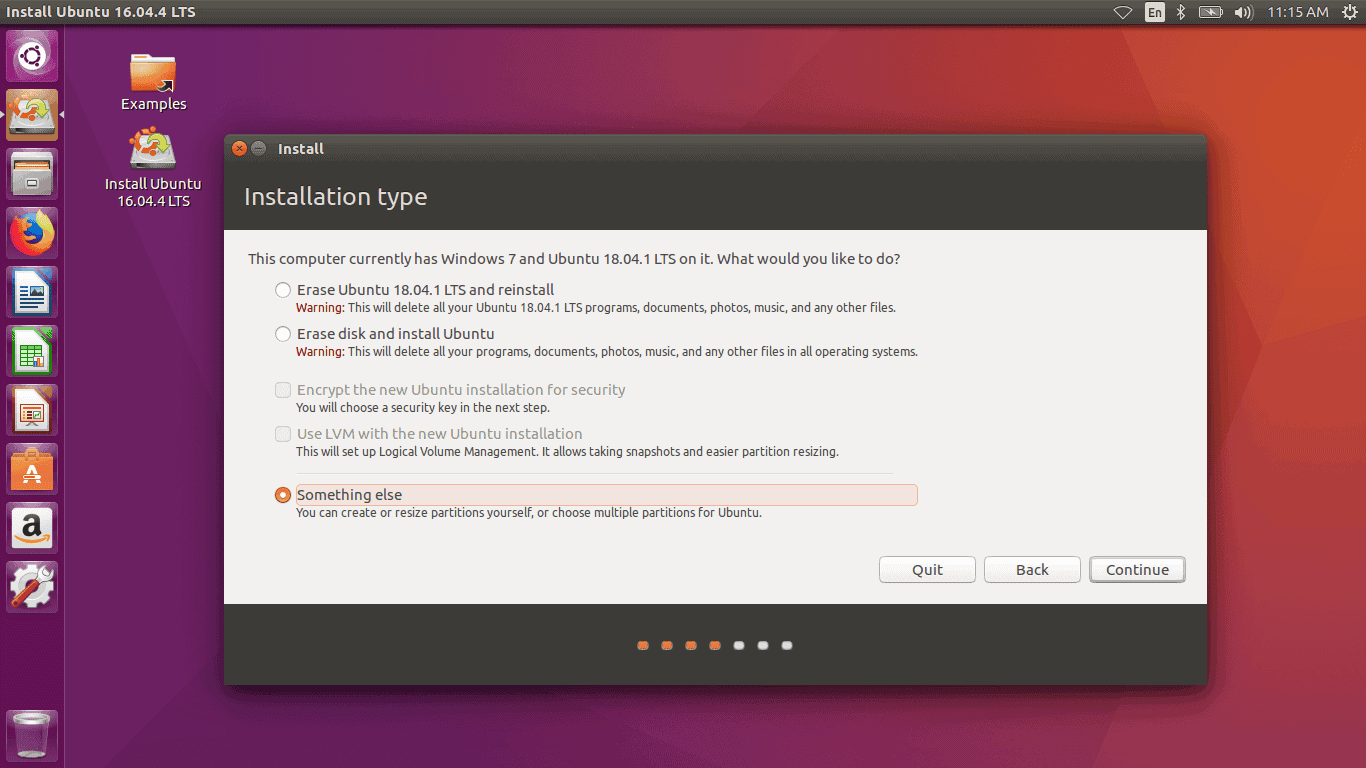
The next step will ask you to choose the installation type. Do not mind anything, simply choose the last option – Something Else. Click continue to go on to the most important step.
Important Installation Section
You will now see the partitions available on your system (disks), the sizes, partition types, used/available space on each, and the labels. Highlight the partition you created earlier as EXT4 and click the “change” button. Use the partition as EXT4 journal, and on the mount point, enter “/” (without the quotes, of course). Check the box that asks if you want to format the partition.
Next highlight the “Linux-swap” partition you created and use as swap space. It will not ask for a mount point or formatting. Swap space is a virtual memory that helps to ease your RAM when the system is on use. It does not save any physical data, so it does not have a “real filesystem” to format to, except “Linux-swap”.
Remember that choosing the wrong partition for your “/” will clean everything on the disk beyond recovery since it will overwrite with your system installation files. This is why you need to label your disk partition when you were creating them.
After assigning the partitions, choose the bootloader installation drive and ensure it is “/dev/sda” without a proceeding number. The device may be different in your case, depending on the hard disk you are installing Ubuntu on. Now click the “Install Now” button.
On the next pages, you need to enter the basic settings like your keyboard layout, your timezone or region, your name, computer name, and a password to log on to the system. Any other elements are self-explanatory. Confirm your details and wait for the installation to complete. Reboot, but ensure it does not boot from the USB stick again.
Log In and Connect
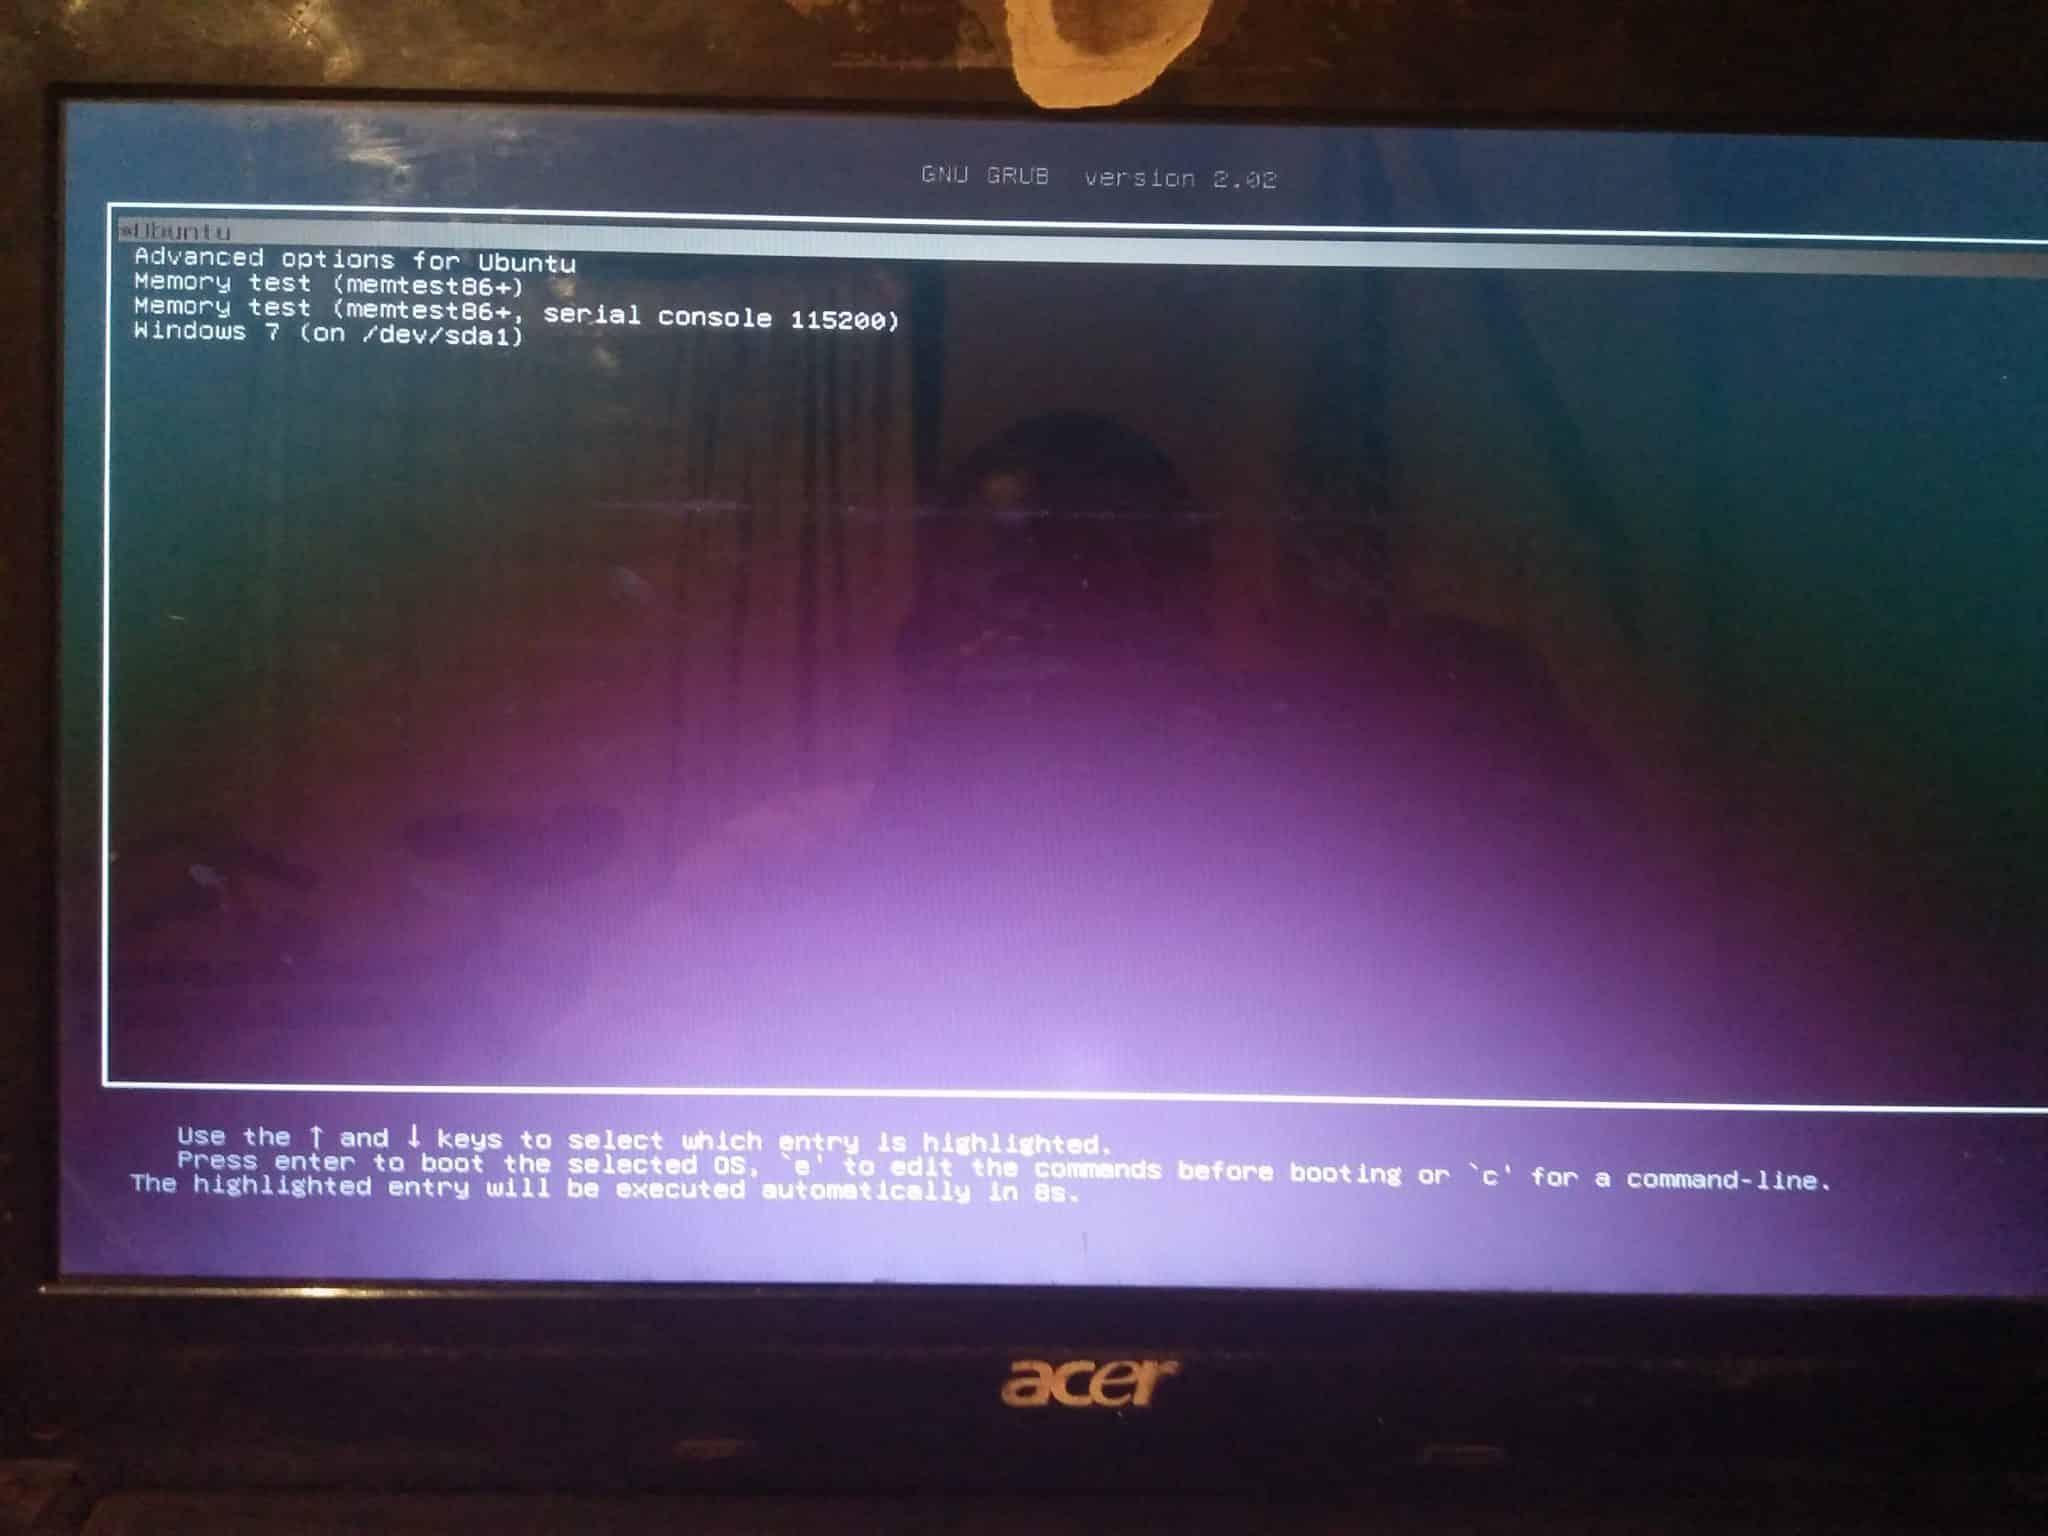
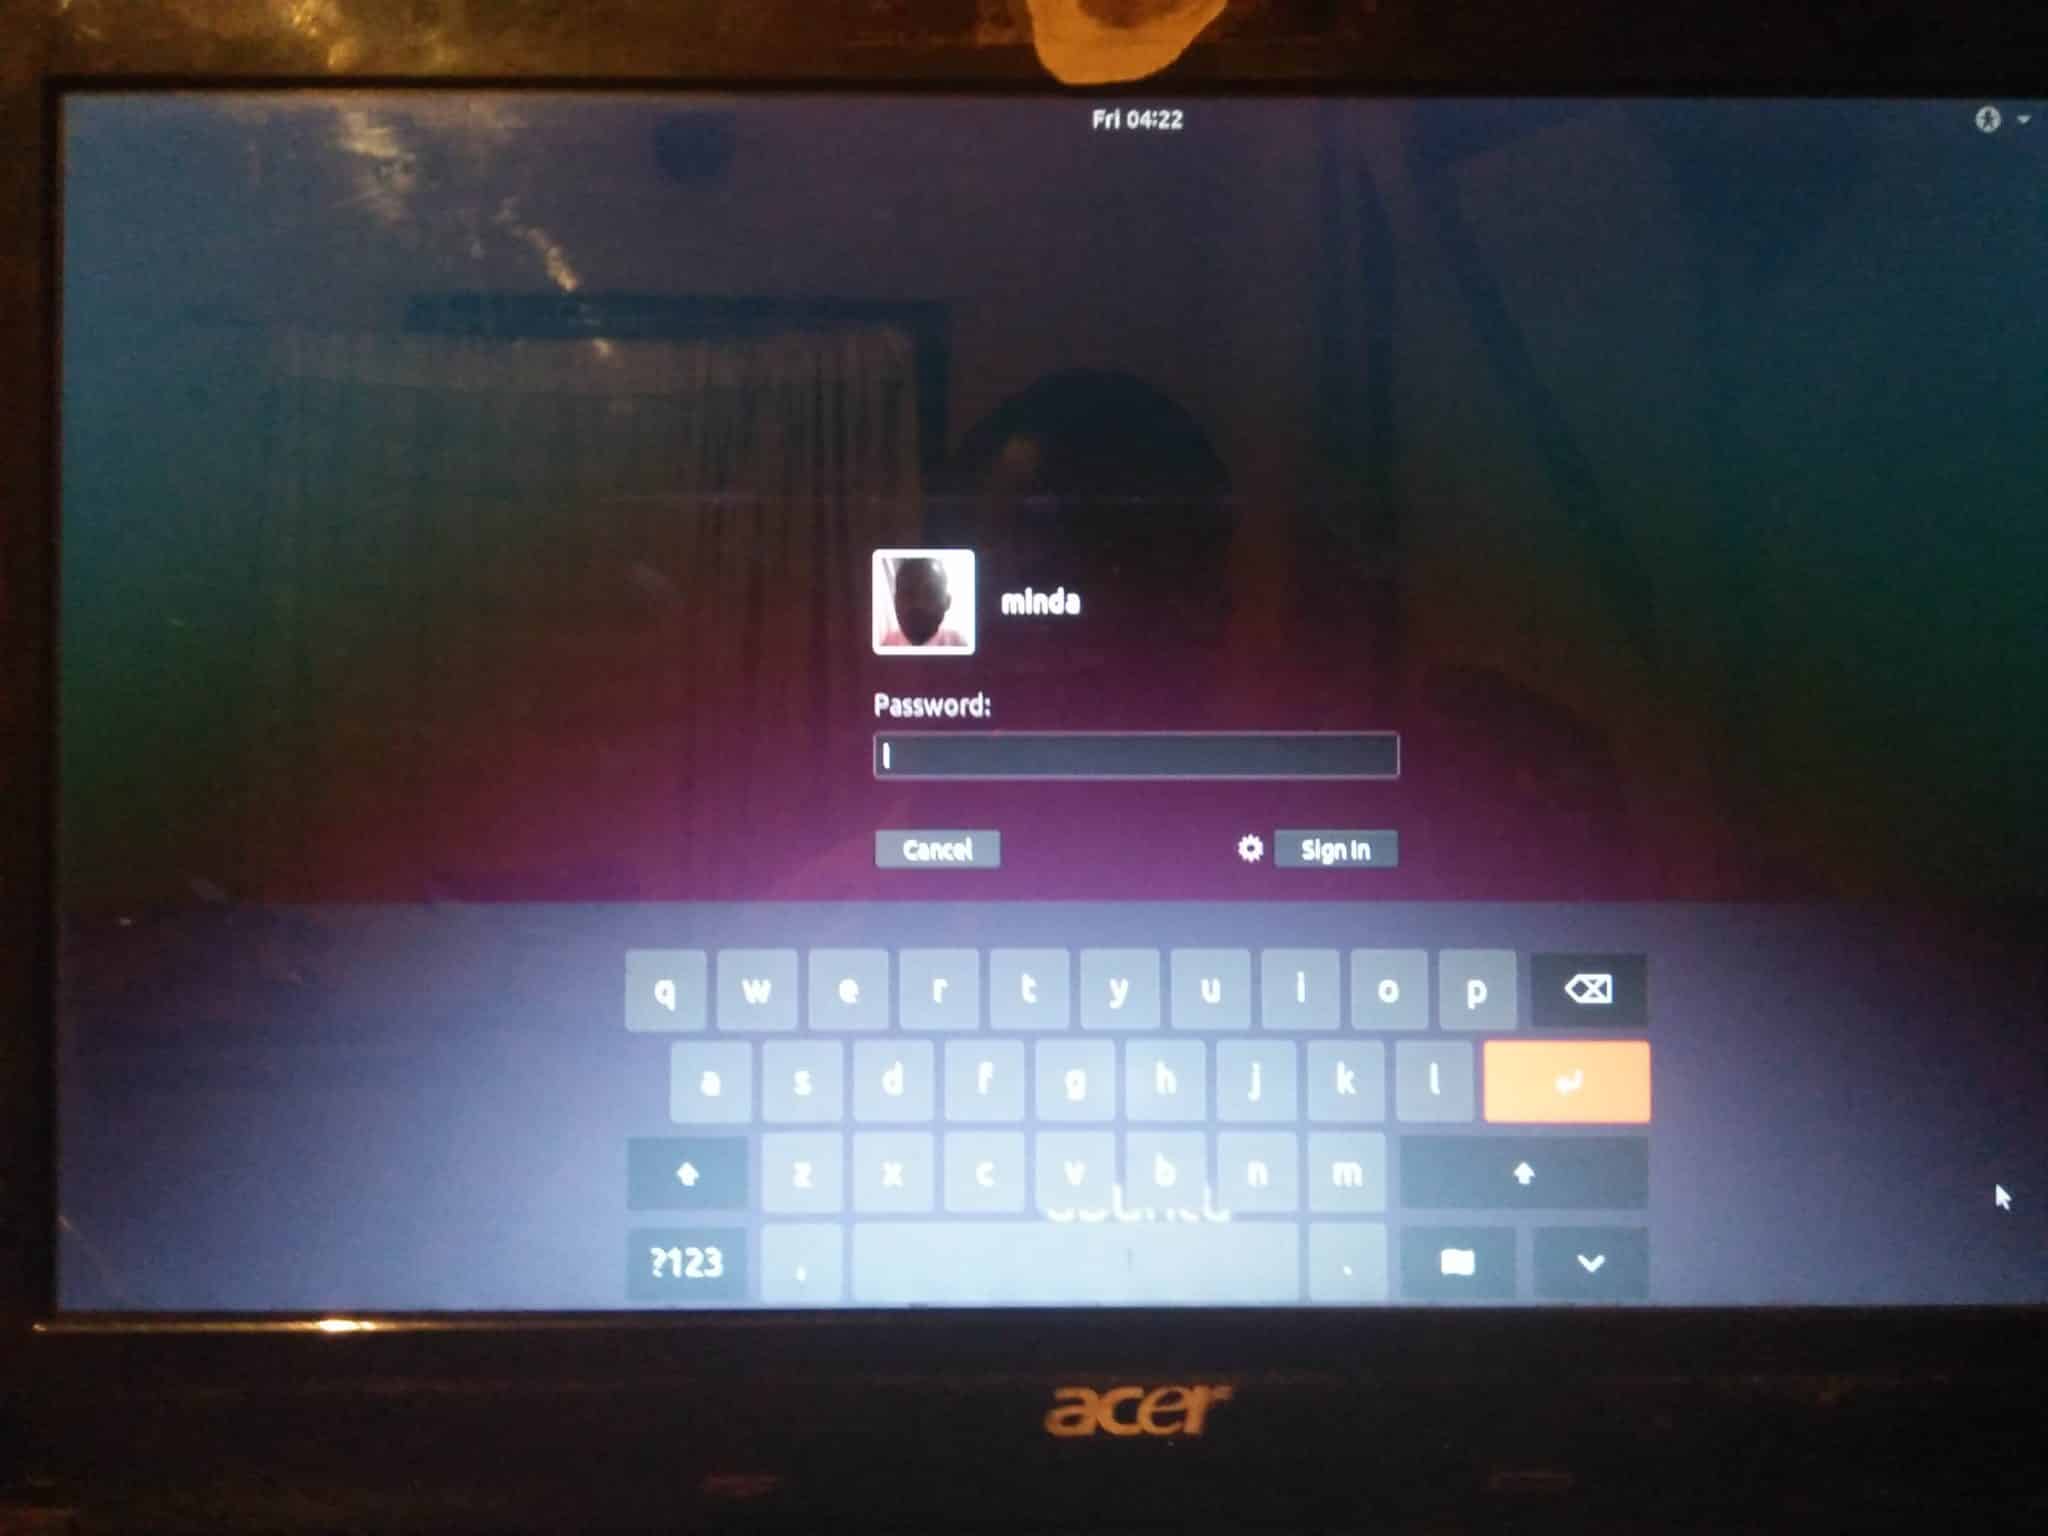
Up to this point, you have learned how to install Ubuntu on Windows 10. After rebooting, you will see a different screen from what you are accustomed to. You will be prompted to choose the OS to log in – Windows 10 or Ubuntu 18.04. Highlight Ubuntu (on top by default), and hit the “Enter” button on your keyboard.
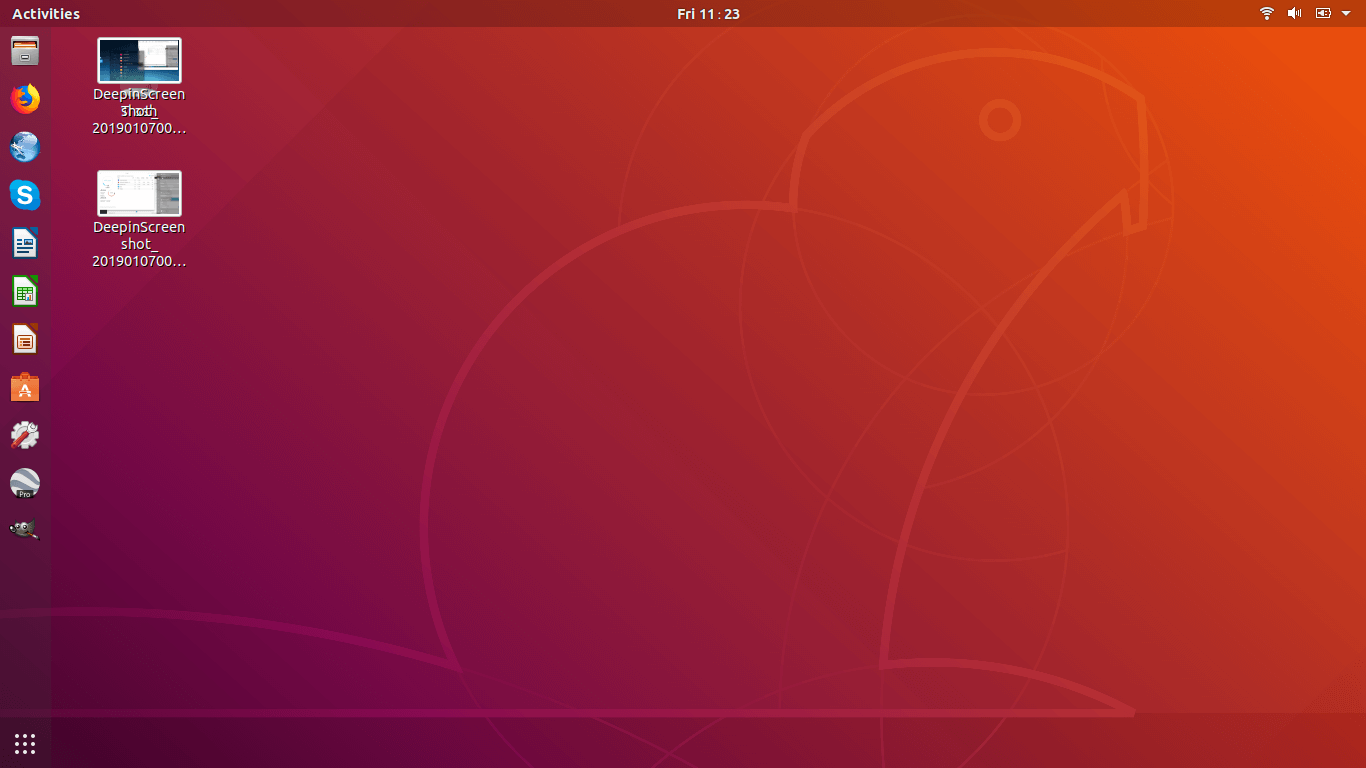
The log in screen will appear showing your name. Hit the “Enter” key again. You can as well use the spacebar. Enter the password you created when setting up your account and log in. You will now see your Ubuntu desktop and you are almost ready to start using your computer. But wait, a few steps to go.
You need to connect to the internet, play music, stream media on the internet, and complete a few tasks. The first thing is to locate the network icon on the top right corner of your monitor. If you cannot see it, you will see the speaker and battery icons with a drop-down on the right. Click it, and you will see the networks option.
Click on the available wireless network name and enter the passphrase or code when prompted. Your PC will save the information and it will connect automatically the next time the wireless network is available.
The other ways of getting online easily include to plug in an Ethernet cable or to use USB tethering from your smartphone. The system will connect automatically. I prefer wireless to make the working desk clean.
Update, Install Software and Clean Up
Once you are connected, you can now do everything on your new Ubuntu system. But the first thing is to update your software database and install the software you need and want. Follow these steps.
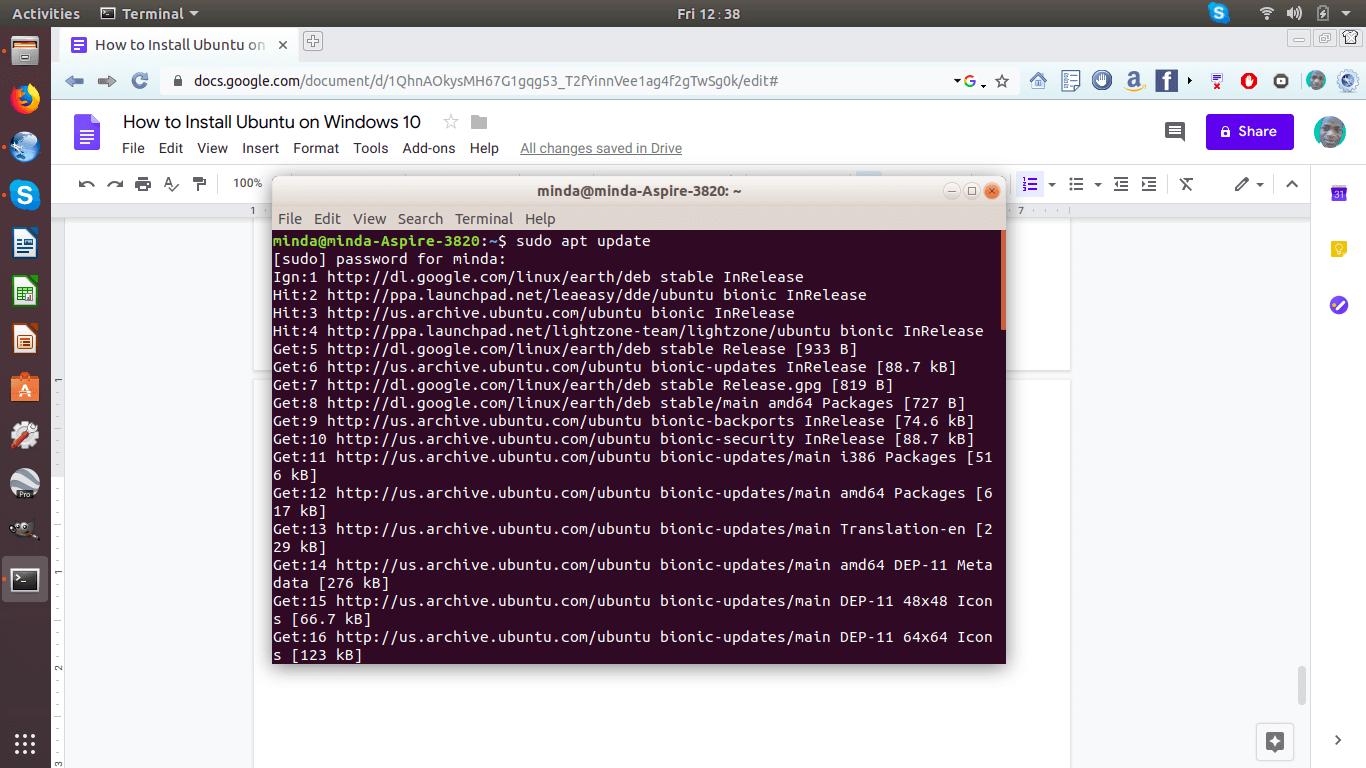
- Press the keys CTRL+ALT+T (does not work? Hit the Windows logo button and search for “Terminal” and click on it) to open the terminal emulator (the equivalent of Windows 10 Powershell.
- Type
sudo apt updateto update your system software database. You will need to enter your system password to authenticate the process. - After the update is complete, type
sudo apt install ubuntu-restricted-extrasto install the media codecs, Adobe flash player, and other drivers your system requires. Ensure you accept the license agreement to continue. - You may want to update your system apps. Open the dash, and type “update” and click the “Software Updater” icon. Let the app search for the updates that are available for your system. Accept and install all the updates.
- Once you are through, you can now clean up the junk from the system. Type on the terminal again
sudo apt autoremove --purge && sudo apt autocleanand wait for the process to complete.
Summary
Up to this point, you are now ready to use a stable Ubuntu 18.04 LTS installation. If you are like me and do not like some of the native apps, you may want to install other software for specific tasks like Chromium for web browsing and VLC for playing videos and audio.
Please note that this post is about installing Ubuntu and dual boot ubuntu windows 10. If you, instead, want to install Ubuntu as a service or an application inside Windows, please follow the tutorial here. However, do not expect more than the Ubuntu terminal. Ask Ubuntu and Ubuntu Forums have great resources for any support you may need for your system.
Hello to every single one, it’s really a nice
for me to visit this web site, it contains valuable Information.