Minecraft was first released in 2011, and nearly a decade later, it’s still one of the most popular video games in the world. If you’re a part of the enormous community that continues to enjoy the delights of the multiplayer sandbox creative survival experience, you’re probably familiar with one of the main reasons a game comprised of graphically unimpressive blocks has such a following – the expansive array of modifiers players develop for Minecraft never fails to keep the game visually and mechanically interesting, and the community alive.
In this guide, we’ll be focusing on the visual side of things. Specifically, on a mod that allows PCs to support higher quality textures, boosts FPS performance, and ultimately gives players greater control over their graphics settings in Minecraft.
If you’re familiar with the world of Minecraft mods, you may already have heard of OptiFine, and this article will cover how to install OptiFine for Minecraft. Below you’ll find our simple, step-by-step guide, complete with an FAQ/Troubleshooting section to help you work around some of the most common problems players experience when installing OptiFine.
1: The basics
Before we get into the process of how to install OptiFine for Minecraft, it’s important to make sure you’re not going in blind and know which version of the mod you will need to match your version of the game. It may seem obvious, but as Minecraft is a constantly evolving title, you’ll want to be sure what release you’re playing on.
You can find this information in the Minecraft launcher when you fire up the game, in the drop-down menu in the bottom left corner as shown below.
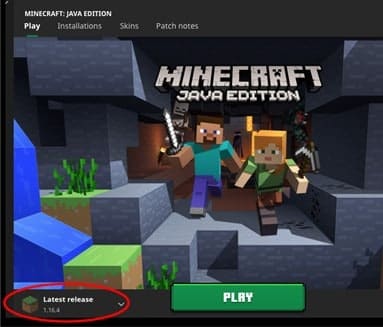
The version of Minecraft you’re using will naturally inform which version of OptiFine for Minecraft you choose to install – which brings us to step two!
2: How to download OptiFine

Next on the agenda is heading to the OptiFine website and navigating to the Downloads section – that’s optifine.net/downloads. Accept no substitutes!
You should see a page that looks like this:
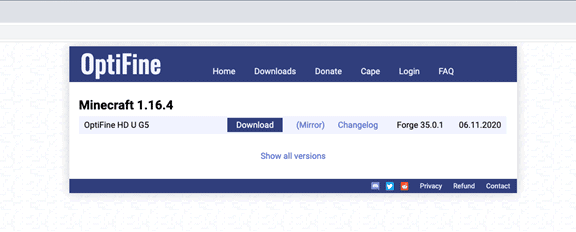
Of course, this is only really of any use if you’re playing on version 1.16.4. Luckily, OptiFine have been in the modding game for a long time, and the full backlog of their work is available for versions dating all the way back to version 1.7.2. Simply click ‘show all versions’, and you’ll be greeted by the list pictured below.
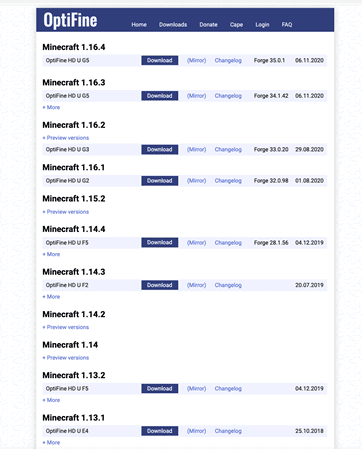
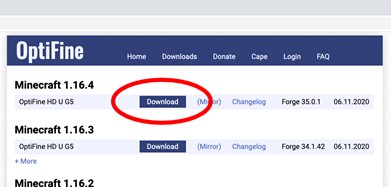
Once you’ve found the right version of the mod for you, simply click the download link – like so:
You’ll be greeted by a page with a banner like this at the top:

Depending on the settings and extensions on your browser, you may also see a popup or advertisement like this one:
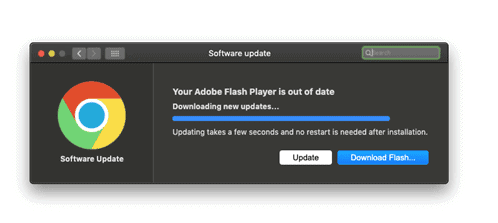
Ignore any ads or popups on this page – they’re not relevant to installing OptiFine and they may be linked to malware.
Instead, wait until a button marked ‘Skip’ appears in the banner at the top right of the window – it should look like this:


Click the link and you’ll arrive at this page – once again, click the download link and your browser will automatically begin downloading the mod file.

You may find yourself looking at another advertisement – again, ignore it and focus on your browser’s downloads tab (usually at the bottom of the screen, as marked below).
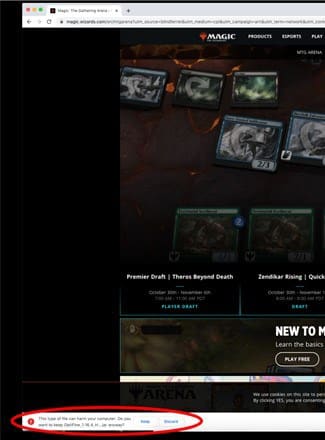
If you see a warning about the file harming your computer, don’t worry – most modern browsers are made to be cautious about .jar files, but as we know the origin of OptiFine’s mod it’s perfectly safe to continue with the download. Click ‘keep’.

Drag this file from your browser on to your desktop or to a designated folder.
3: Putting it all together
So we’ve covered how to download OptiFine – in this next step we’ll explain how to install OptiFine. Now that you have the downloaded file saved to your computer, you can begin the installation process.
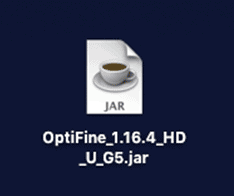
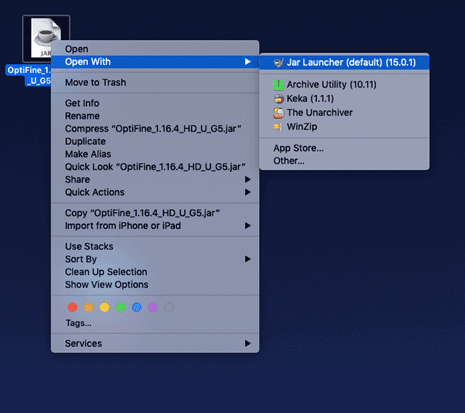
Simply double-click the file to open it, or, alternatively, right click and select ‘open with’, and choose Jar Launcher (Mac) or Java (Windows).
In order to open this file you MUST have java installed, you can download it from the official website here: https://www.java.com/en/download/
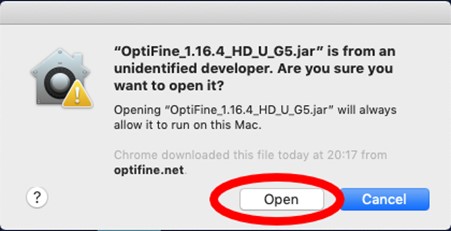
If you get another warning message, adopt the same policy as before – we know it’s a safe file, so open away.
This will open the OptiFine Installer. You’ll be given two choices: ‘Install’ and ‘Extract’. This is a guide to installing the mod, so, naturally, that’s exactly what we’ll be choosing here!
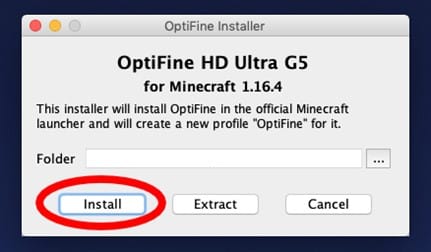
The installation process here is about as quick as they come – when you get the message below you’ll know you’re done.
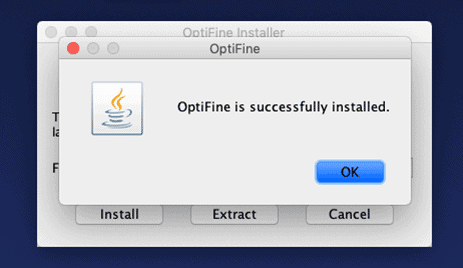
4: Reap the benefits!
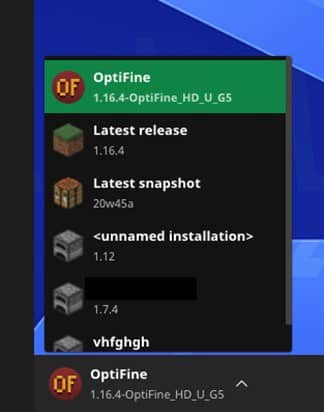
Finally, launch Minecraft again (if you still have it open, simply quit and re-launch it) and return to that drop-down menu from the very beginning of the guide.

Click on the drop-down box and you’ll be shown a list of installations available – and your own brand new edition of the OptiFine mod. All that’s left for you to do now is select the mod from the list and dive into Minecraft, now outfitted with the means to accommodate a whole new world of shaders, textures and effects!
FAQ/Troubleshooting
When I click ‘install’ on the OptiFine Installer, I get an error

This is a common problem you may well run into – fortunately, the fix is quick and easy. All this means is that you haven’t yet launched the version of the game you’ve downloaded the OptiFine file for.
Simply click ‘OK’ on the alert, then launch Minecraft and start the version of the game specified in the OptiFine installer.
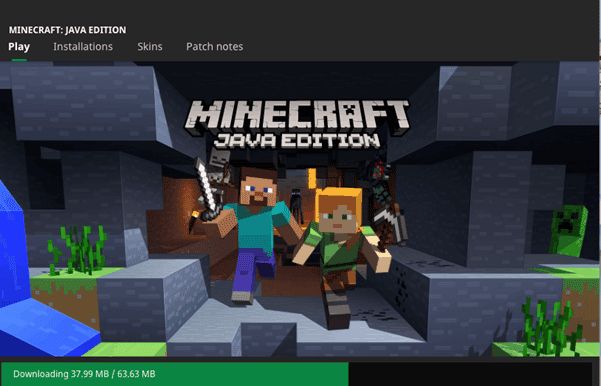
As you haven’t launched this version of the game before, Minecraft may need to download the right data. It will begin this process automatically and shouldn’t take too long.
Once that’s done, you’ll be greeted by the familiar sight of the Minecraft title screen. You don’t need to create a world or actually play the game yet – this screen indicates you’ve successfully launched this version of Minecraft.
Finally, close Minecraft and reopen the OptiFine installer. You should now be able to install OptiFine without running into the error message.
How do I know OptiFine is installed correctly?
As OptiFine is designed more to support other mods than directly affect gameplay itself, you may at first be unsure whether OptiFine is working on your copy of Minecraft.
Finding out is easy – just navigate to ‘options’ on the main menu, then choose ‘video settings’ from the options menu.
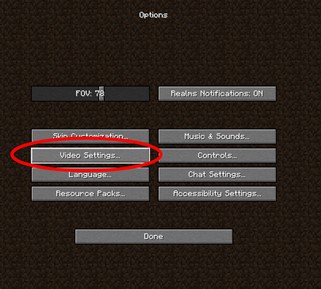
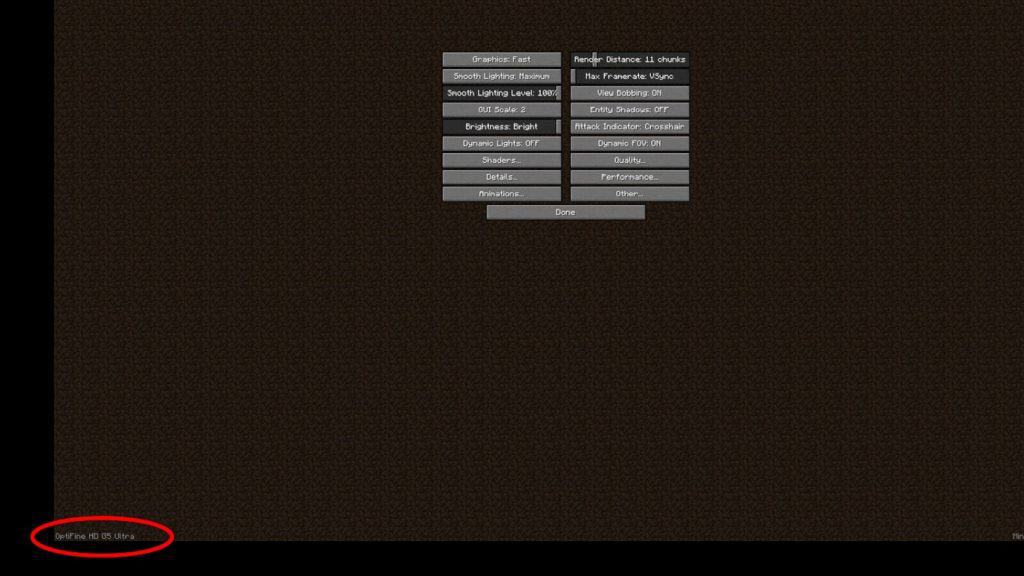
In the video settings menu, there should be text in the bottom left of the screen reading ‘OptiFine’, followed by the specs of the version you’ve installed.
If you can see this, great! OptiFine has been successfully installed. If you can’t see this even after following all the steps in this guide, there’s been a problem and you’ll want to repeat these steps from the beginning, taking care to make sure your Minecraft and OptiFine versions match.
We hope this guide has helped you to understand how to install OptiFine for Minecraft. Thanks for reading, and happy crafting!

