We all use the internet every day. With various transactions online, you would not want to be a victim of cybercrime. People and bots eavesdropping everywhere, however, they should not stop you from doing your work and various tasks online. With a personal VPN, you can protect your information and privacy from the offenders.
This post describes how to set up a VPN (Virtual Private Network) for your internet needs. You can use it to do any transactions online without fearing that anybody is watching or tracking your activities. Instead of subscribing to a public VPN service, you can set yours and make everything private. With a personal VPN, you will not encounter any blockage due to spam activities.
Follow these simple steps to create your VPN to use for all your internet-based activities and protect your sensitive information online.
1. Acquire a Server
A VPN requires a server to run from. Like any computer program, we should install the VPN server on a computer with a complete operating system. But the computer should be a remote server. You have two options. You can buy either a VPS or a dedicated server.
In case you are buying a managed server, ask your system admin to install Ubuntu GNU/Linux Server for you. You can as well install it from your provider’s customer dashboard. You, therefore, do not need a managed server to accomplish your mission. From this point on, I will assume that you have an Ubuntu 18.04 server with ssh and root access. You can contact your hosting provider for the information.
2. Prepare the Installation Environment
We are going to install a VPN server to handle all your traffic with the free, open-source, and SSL-enabled OpenVPN. After installing Ubuntu 18.04 on your server, use SSH to log in to the machine. SSH is a utility that comes natively on Linux machines. If you are on windows, you may need to install an SSH client like Putty.
Please note that all the commands that begin with $ should run with normal user. Those with # need root privileges. You can run them as the root user or prepend sudo as a sudo-privileged user.
$ ssh root@IP
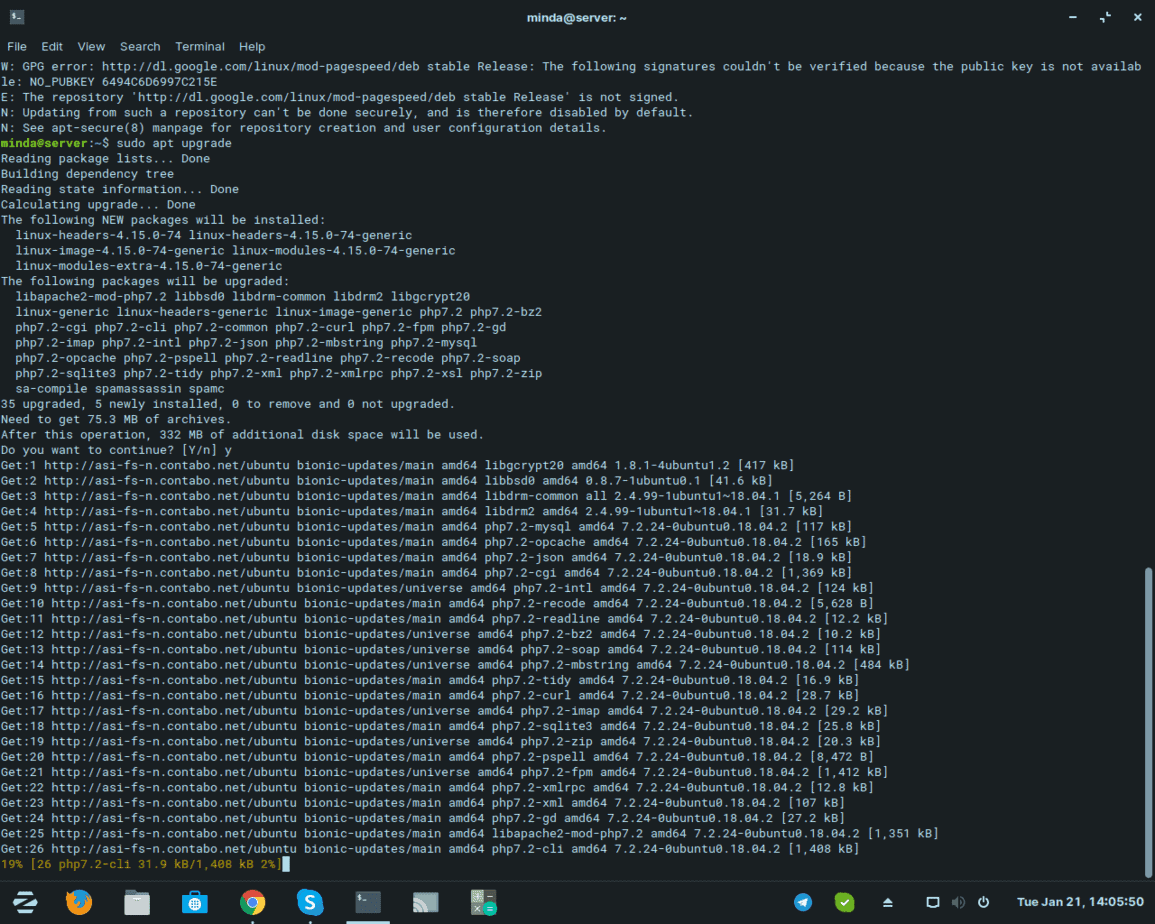
After login, install system updates.
# apt update && apt upgrade
The net-tools and ca-certificates packages are required to run the installation and use OpenVPN on your server. The latter will help you to secure your network with an SSL certificate.
# apt install net-tools ca-certificates
The next step is to set up your firewall to allow connections to the ports 943 (TCP) and 1194 (UDP). In case you need the firewall, you can use ufw, but it is not mandatory.
3. Download and Install the Necessary Package
The internet has lots of methods people use to install the OpenVPN software. Some are semi-automated to make the process faster. However, the official website only recommends installation from the official repository.
# cd /tmp
# wget https://openvpn.net/downloads/openvpn-as-bundled-clients-latest.deb
# wget https://openvpn.net/downloads/openvpn-as-latest-ubuntu18.amd_64.deb
# dpkg -i openvpn-as-bundled-clients-latest.deb
# dpkg -i openvpn-as-latest-ubuntu18.amd_64.deb
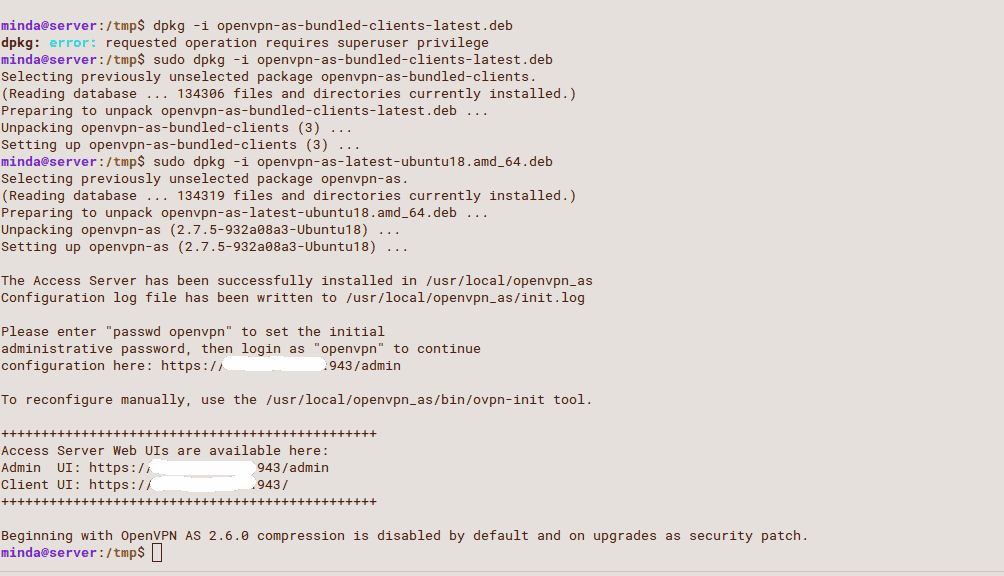
After the last command, you will see the server access details for both the user and administration. During the setup process, the admin user is created with the username openvpn. You need to create a password for the user before you can log in.
# passwd openvpn
4. Sign In to Finish the Setup
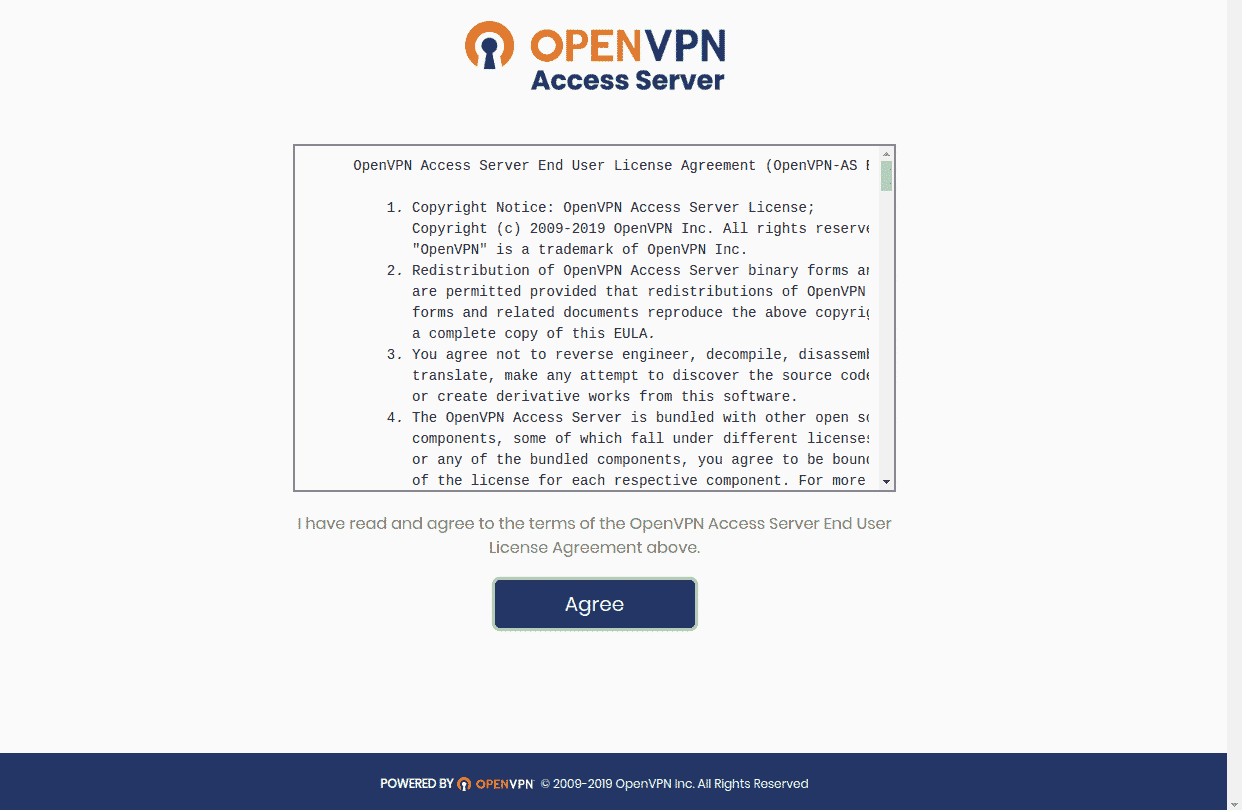
To continue with the server setup, you need to log in to your administration panel. The address is your server IP address:PORT/admin (e.g. https://110.231.96.74:943/admin)
Once you have logged in to the admin interface, you will see the agreement terms that you should read regarding the use of the software. Click on the “Agree” button to proceed to the configuration page.
The default settings are already sufficient for use. However, you can tweak a few settings to meet your needs.
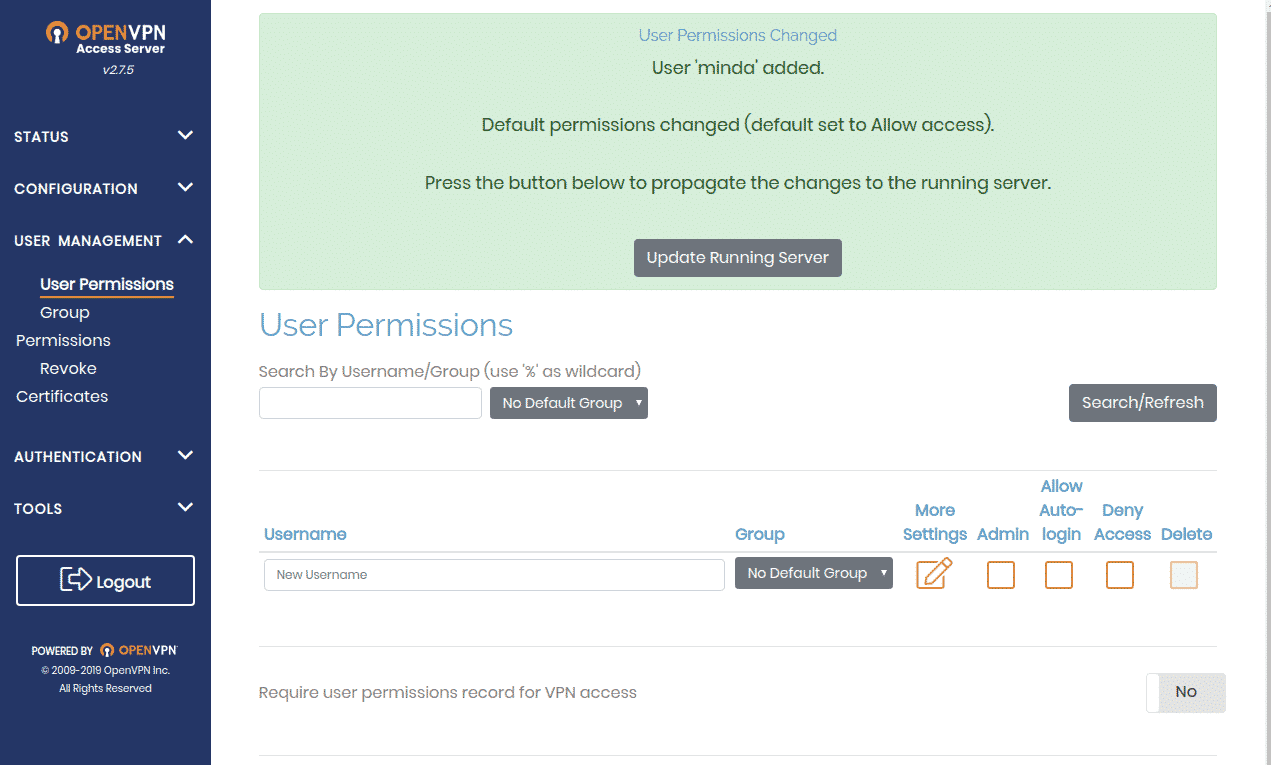
Under user management, and user permissions submenu, create a user that you will use to access the VPN for browsing the web. Remember to set up the user password and click on the “Save Settings” button.
After creating your user account, click the button saying “Update Running Server” to save your new user and allow access.
Next, go to the VPN settings page (under Configuration). Change the setting under routing to “NO” so that your users should not access the local server network services. Remember to save the changes and update the running server. All the other settings are fine.
5. Set Up Your VPN Client
To communicate with the server and do your stuff, you need a VPN client that will route your traffic to your server. You can use all your devices to connect to your server. Windows, macOS, Linux, Android, and iOS are the supported platforms for accessing the web using OpenVPN.
For these platforms, you need to install the respective client. Further details regarding the available client and the setup process are available on the OpenVPN website. Install the client you need for your operating system and follow the guidelines to set up a secure connection to your server and access the internet privately.
For easy access, log in to your front panel using the IP address and port 943. The username and passwords are the ones you created in the previous step. You will find the links to your installation packages and your client connection profile.
Summing Up
Instead of paying for a monthly subscription to access a VPN, you can set up one for your private use. The advantage of having a private server is that you will avoid traffic congestion and possible blacklisting when accessing various resources online.